Hickory Backed Mulberry Buildalong
Page 1 | Page 2 |
Page 3 | Page 4 |
Page 5
11/14/06 - Started tillering again
I progressively trapped towards the belly, the first 6" out from fades was flat,
then progressively tapered to around 5 degrees. Looks pretty good, and hides the fact that the
horn was too narrow. I also filed in the final nocks. I'll trim the tips later.
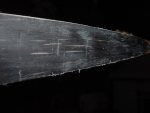 |
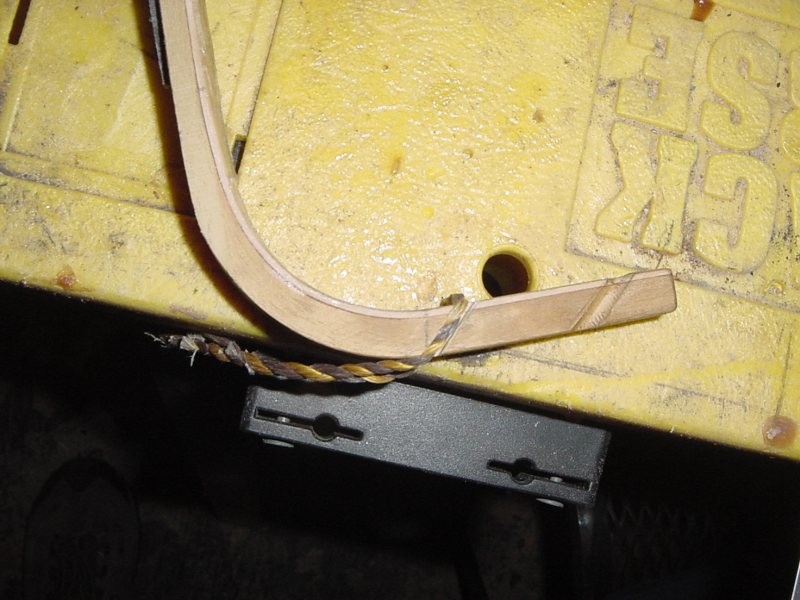
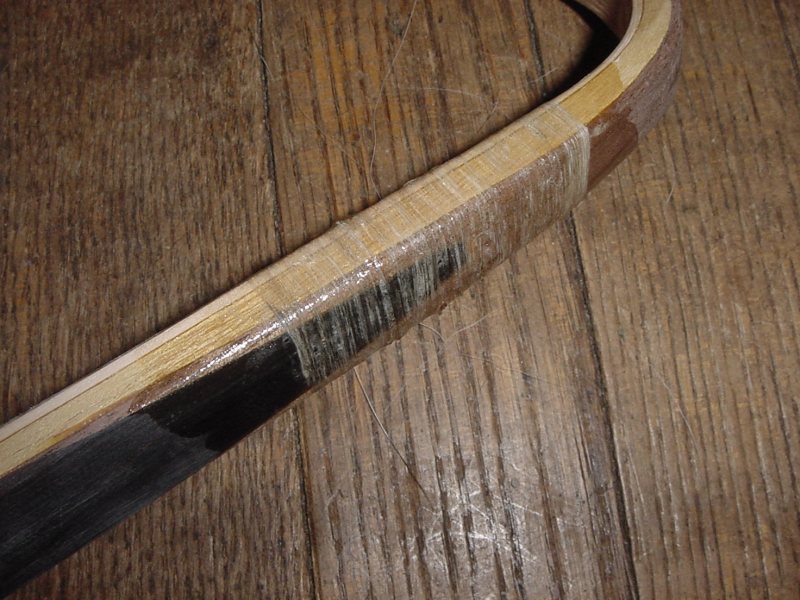
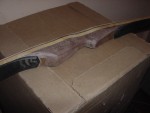
I'm a little worried about the cracks along the horn. The ones across the limb are just
scraper marks from cleaning it up. |
 |
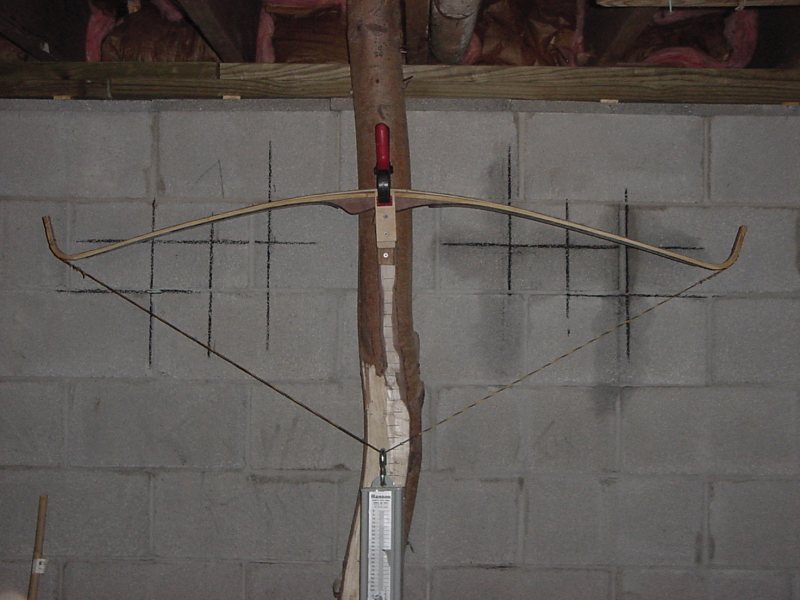
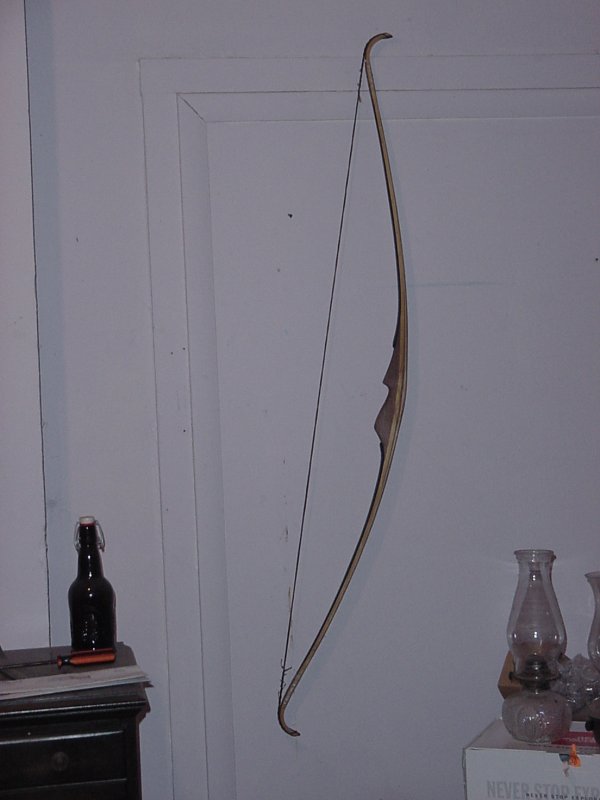
50# on the long string :P Not even brace height yet. |
 |
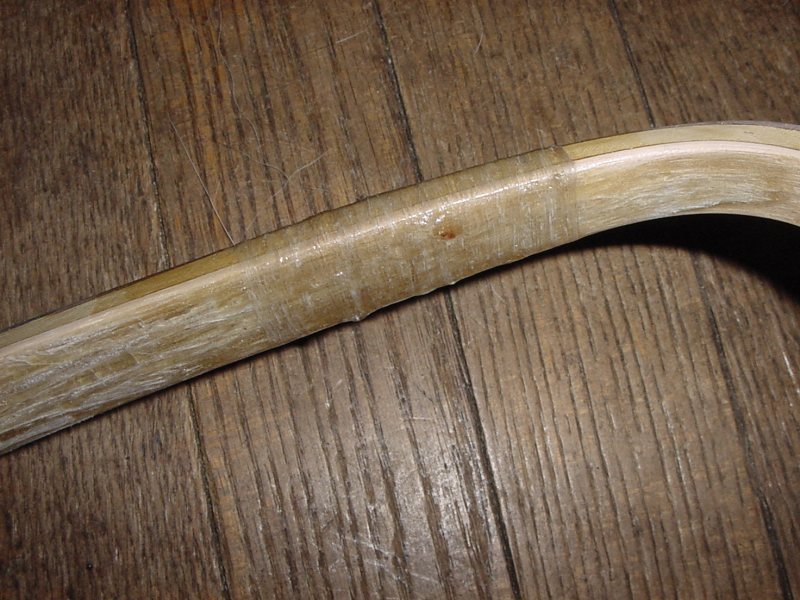
Here's the final nock location. |
|
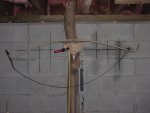
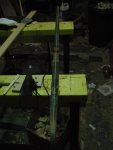
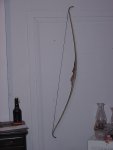
11/17/06 - Gettin there
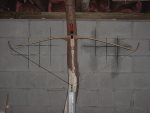
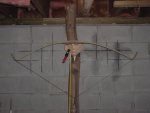
I took some extra time and reworked my tiller tree. I wasn't happy with the way the
bow was pivoting around the single post I had. It made it difficult to see which limb was moving
further.
Had a really weird thing happen today. After the limbs were even with the long string
at 50# I made a short string and braced it. It was WAAAY off. I shaved the right limb back down
to only 1 inch stiffer than the left and pulled it, then the right bent 1 inch *father* than
the left. Really strange that a stiff limb when braced turned weak when pulled. I just kinda
ignored the brace profile and tillered on as usual. When I stopped tonight, the right was still
an inch stiff, but if I left it braced for 10 minutes the limbs would go even.
 |
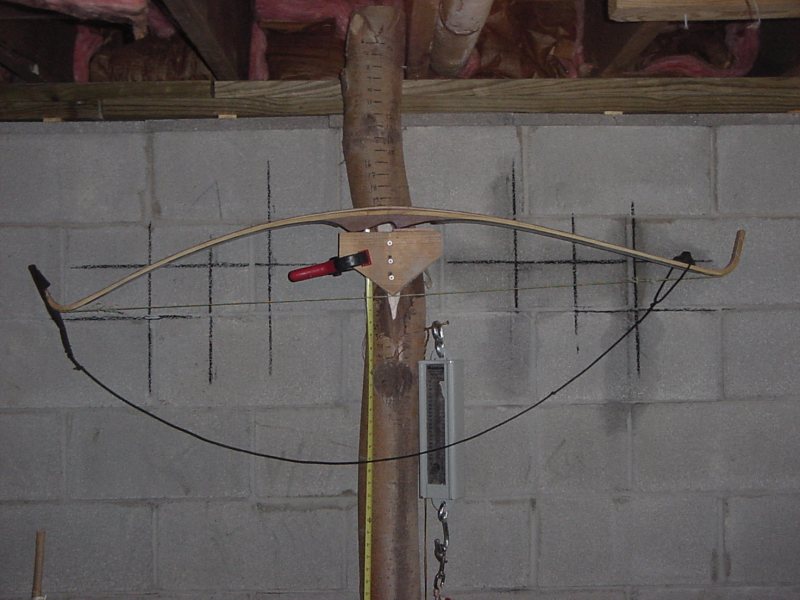
50# with a long string |
 |
Braced... whaaa? |
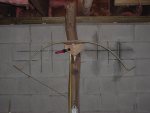 |
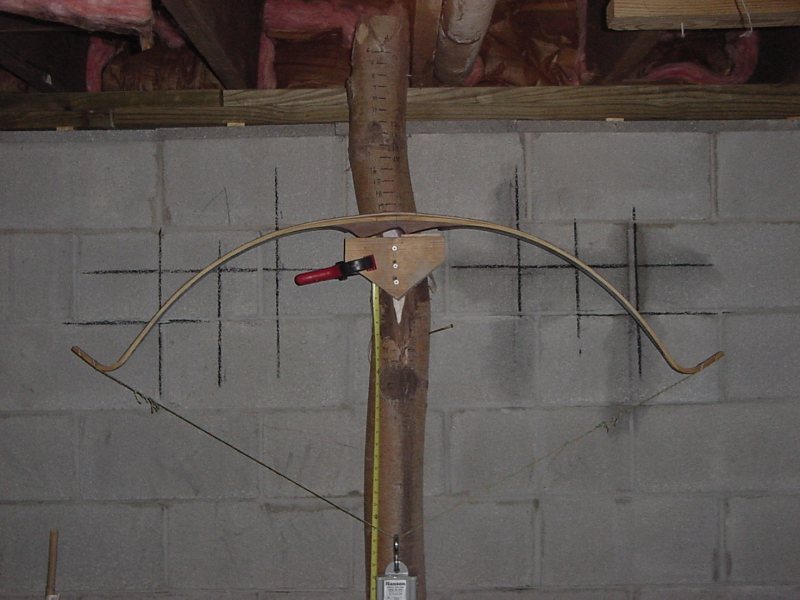
When I stopped. 50# at 26". I don't have much more weight to play with and the left is
still strong. |
|
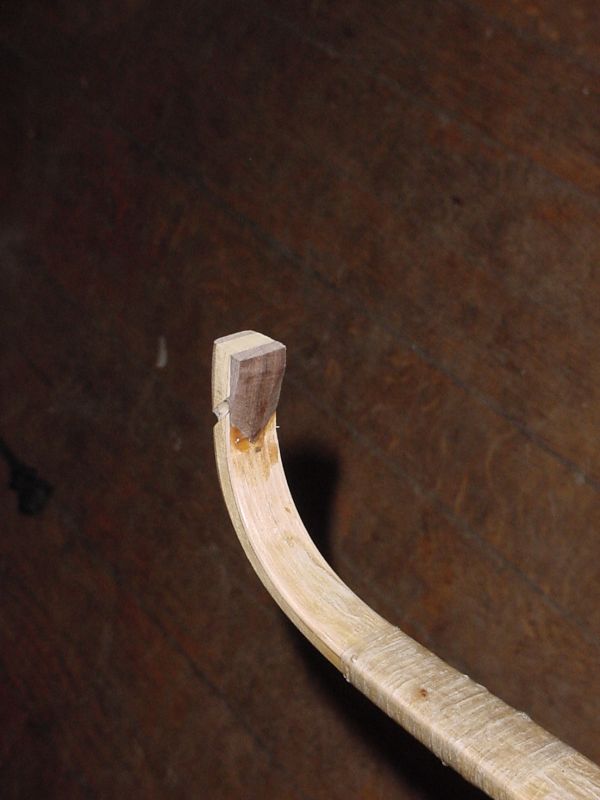
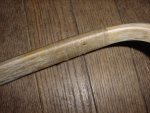
11/20/06 - Tip underlay
I wasn't looking forward to this part, but it had to be done sometime. I sanded
down the tips to 5/8 inch wide. I didn't feel good about the thickness at the base of
the curves, so I took Luke's suggestion and glued up underlays. I used walnut (as if I
had anything else to use :P).
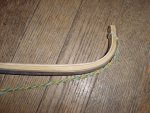 |
Just need an overlay now. I'm going to wait until I'm sure things are aligned first. I can
still file one nock a little deeper for fine tuning. |
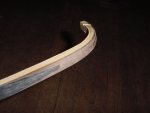 |
Filed the horn to a V and filed the walnut to match. I steamed the walnut and
tried clamping to the bow form first. It wasn't a good enough match. Did it again
clamping to the bow and it worked much better. |
 |
The top limb is perfect, the bottom one seen here isn't quite right.
I still have a little more sanding to do on this limb, so hopefully I can bring it back. |
|
11/21/06 - Crack!
Arg! I finally got the bottom tip aligned and was going a final weight check.
I reached 55# at 28 inches and crack!
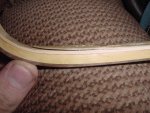 |
The worst part was that it wasn't just the sinew, the crack went into the hickory. |
|
12/7/06 - Glued and wrapped
It's been a rough few weeks... I'm slammed with school work. I managed
to glue it a few days ago with super glue and wrapped it tonight.
I used a method that (I think) Ferret posted a while back for hafting points.
I sized the area up with hide glue. Then I wrapped it with sinew soaked in water.
It was really easy because the wet sinew stuck to the glue already on the limb and
held it all in place. After that I just smeared it all up with glue and remelted
it all together with a heat gun.
 |
I wrapped about 2" on both limbs, beginning 1/4" ahead of the crack. |
 |
|
|
1/5/07 - Nock Overlays
Happy new year! Classes started back up yesterday. I put the bow back on the tree
and took it all the way back to 28". Everything looks great: no alignment problems, bottom limb
is a little stiff, and it weighs in at 55# at 28.
 |
Pic after glue-up. I tried superglue first. Everything was clean and mated, but after
drying overnight, I tested it by pulling back on the edge with my thumb and it popped right
off. To remove all doubt, I did it with urac this time. |
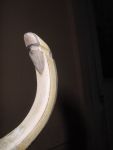 |
Here it is filed down. I had extra horn I could have used, but that stuff feels like
it is 3x as dense as walnut, and I'm trying to keep the tips light. |
|
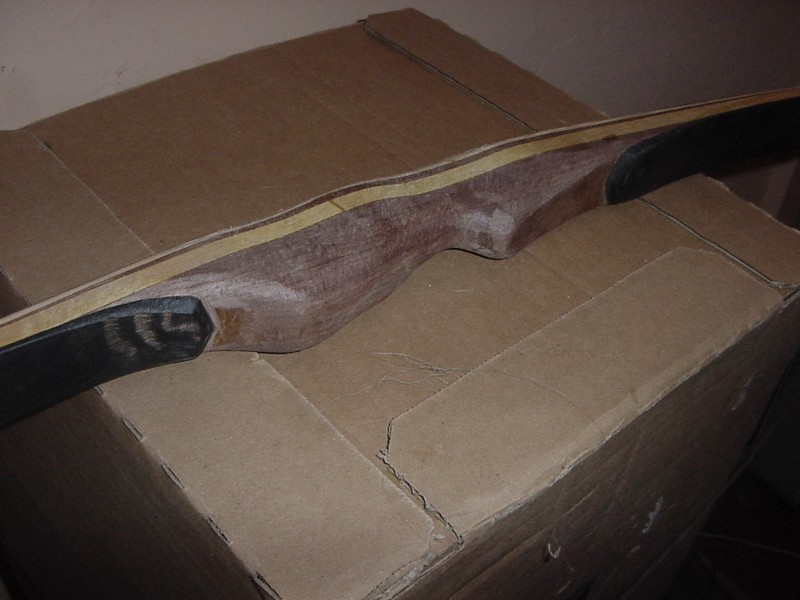
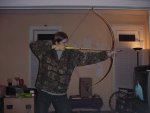
1/6/07 - Handle Shape
Just a small update... shaped the handle and shot the bow some more.
 |
|
 |
I extended the handle cut-in to provide a small sight window and to get the arrow
a little closer to center. |
 |
Final shape.. just some finishing touches needed. |
 |
|
|