Hickory Backed Mulberry Buildalong
Page 1 | Page 2 |
Page 3 | Page 4
Page 5
9/9/06 - Thinning the Hickory
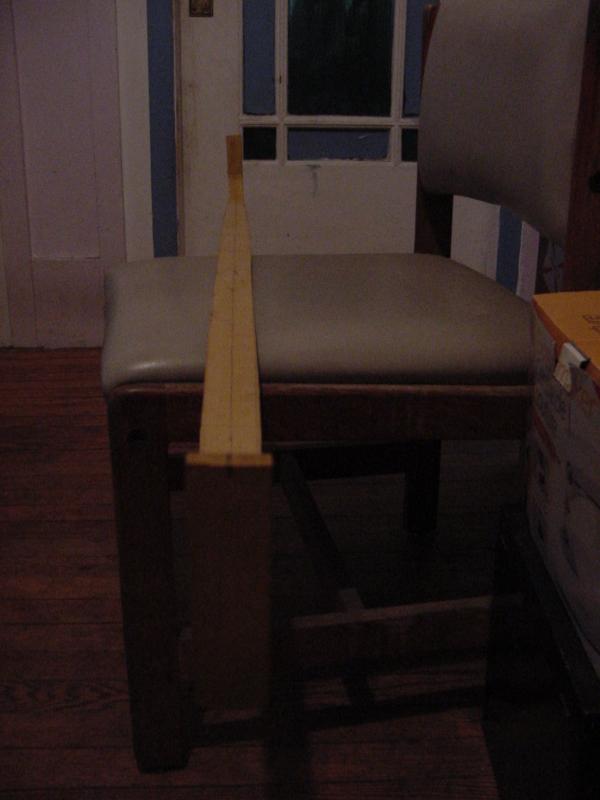
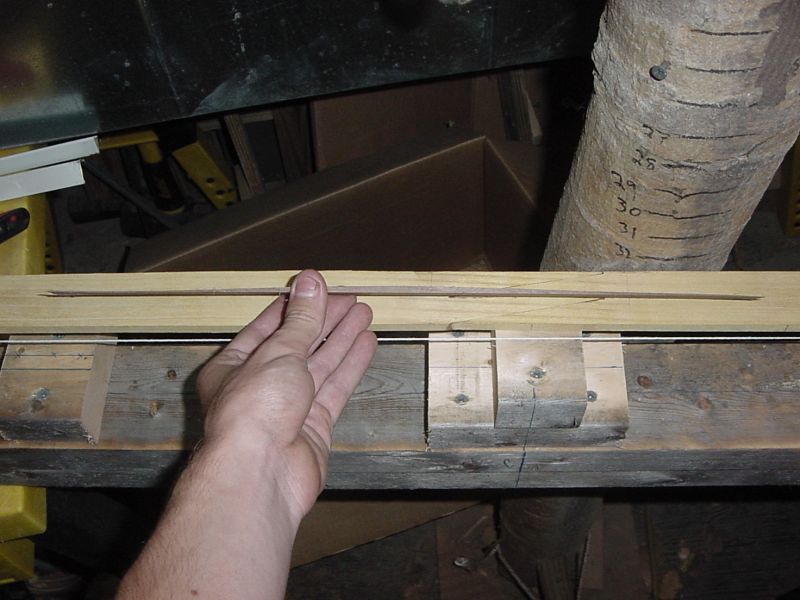
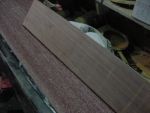
Today I took the mulberry off the form. Tips are mostly aligned as seen in the pic.
I thinned the hickory down on the belt sander, which took a while. The backing was 3/16 when
I got it and I wanted it 3/32 at the handle. I eventually got there and
then tapered it out to 1/16 at the base of the recurves. Though I've read that it isn't
critical with hickory, I still only tapered the glue side so that most of the grain violations
will not be on the back.
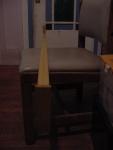 |
Apologies for the dark picture. The tips are mostly aligned. I just clamped it flat
to a board and put dry heat on the handle and they are perfect now. |
 |
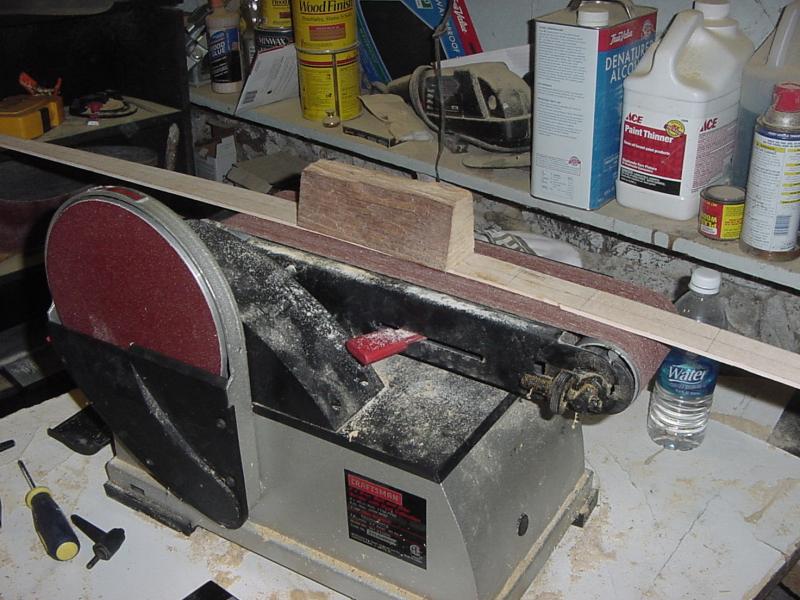
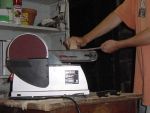
I should have taken a few more pictures of this, but I'll describe it. I'm thinning
the back down with a 50 grit belt. I flattened the bottom of that block smooth so that the
backing would slide easily under it while I was pressing down and pulling the backing
from handle to tip. When I had it almost to size, I would hold the block at 90
degrees to the backing, so as I pulled it out from under the block I could feel the peaks and
valleys. Finally after it was smoothly tapered I made marks every 5 inches and took a caliper
to each side until they matched. |
|
9/10/06 - Prep for glue
Getting ready for glue! I decided to put an extra strip in between the backing
and mulberry. If nothing else it will help stiffen it up and look cool at the same time.
Looking again at how short this thing has become, it makes me wish I had set the curves
farther towards the tips. I will likely be cutting off at least an inch anyway,
as they look too long to be stable. Ah well, learn more on every build.
I'm hoping to have everything ready for a glue up tomorrow.
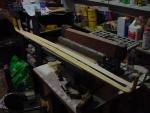 |
Here are all the parts. |
|
9/11/06 - Mid lamination and Form
Well, the glue up didn't happen today. I made that middle lam to go between
the backing and belly. It started as 1/4 inch in the center but ended up 3/16. It is
17 inches long. I used the basic dimensions of JD's form. The ends and center post is two
2x4's high (3 inches) and the midlimb is
1-1/2 inches high. The midlimb posts are 13 inches out, and the ends are 26 inches out.
I may put something about 1/2 inch on top of the midlimb, the 1-1/2 inch deflex looks
pretty intense. I'll decide tomorrow after trying a dry run.
 |
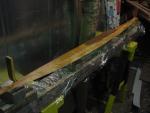
Ain't it pretty? I guess other than that this picture has no point. |
 |
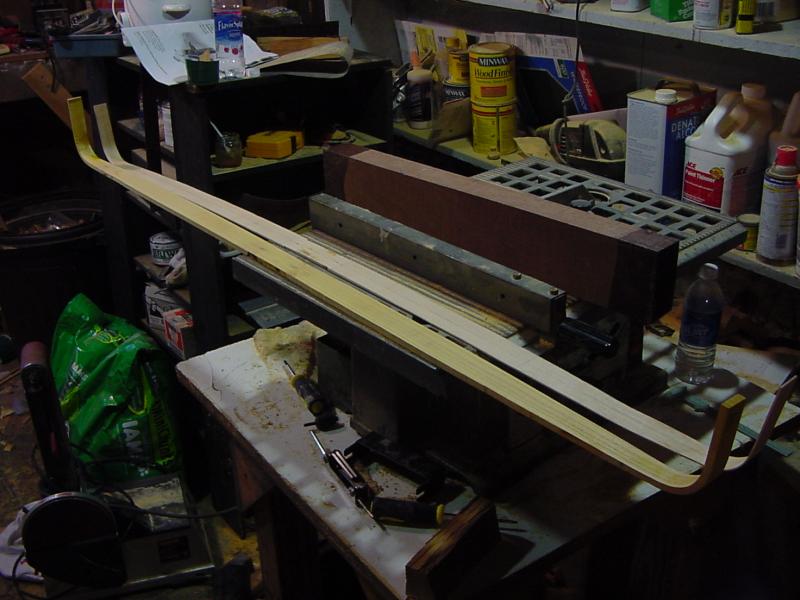
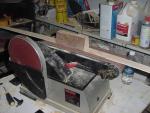
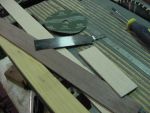
Here's a pic of how I worked the taper. I also took the pic because I was lacking a
picture above of how I worked the hickory backing down. |
 |
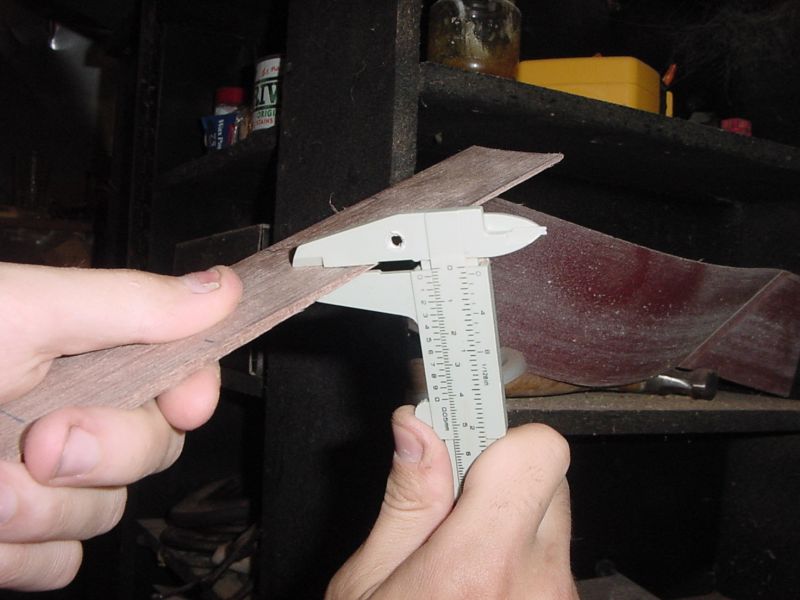
... taking caliper measurements for every 2 inches to make sure the edges and
sides match. |
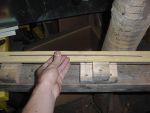 |
Finished. The edges are paper thin. |
 |
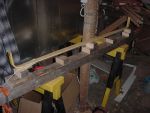
Ok, the form. It will be built in 2 tiers of 2x4's. I want all edges to be square
with the centerline, because the bow will be resting on edges during glue up. I drew
center lines across the 2x4's that were square with the cut edges. |
 |
Here I'm putting the second tier on the ends and center. I started with the ends
and made sure to maintain the centerline, then lined up the center one with the string. |
 |
Finished. It may be overkill, but I like having the centerline marked from
one end to the other, and knowing that all edges are 90 to the centerline. It eliminates the
chance of the limb being torqued by sitting on an edge that isn't straight. I'd hate for
this to go wrong because I didn't spend the extra hour lining it all up. |
|
9/12/06 - Glue up
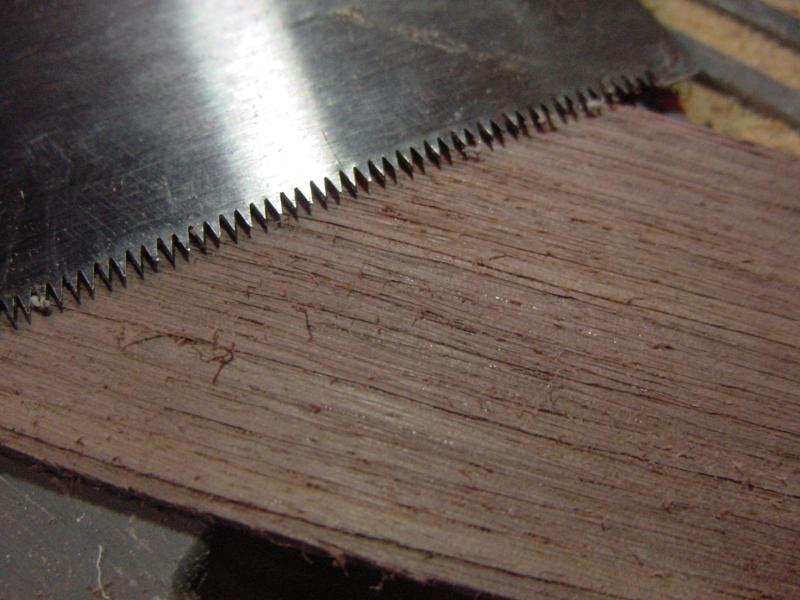
Got a late start today, but I managed to glue it up. I marked up
the surfaces with 36 grit, then raked my pull saw blade over them. Then after a dry run,
I cleaned all surfaces of dust and oil with acetone and glued up with urac. Stacked up
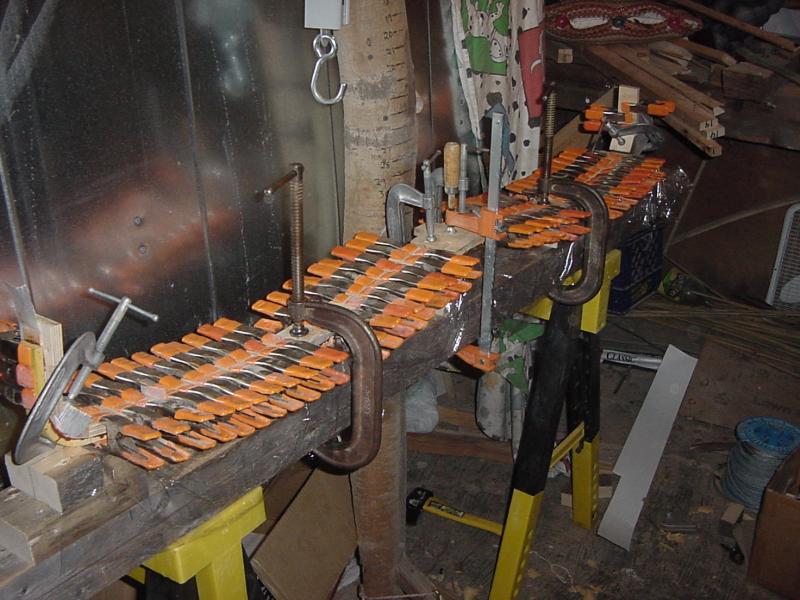
the handle and clamped it down, then clamped from the handle out. I don't have very many
C-clamps, but I do have a *lot* of spring clamps from building a cedar strip kayak last
winter.
 |
Prep stuff, 36 grit, pull saw blade, wood. |
 |
I haven't watched anybody prep wood before. Is this about right?
Update: I'm told this was good :) |
 |
Buttered up. During the dry run I decided to put 1/4 inch pad over the midlimb
so the deflex is only 1-1/4 inch. I'm hoping it will relax to 1 inch. I forgot to do
it, but when gluing flat surfaces like this I would normally put an extra bead down
the center. That way when it is clamped it will push out towards the sides and eliminate
bubbles. |
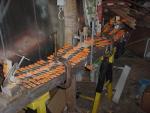 |
Told you I had a lot of spring clamps ;) I also had a bunch of 1-1/2 inch squares
of plywood for padding cut up from when I was building the kayak. I'm not too worried
about starving the joint, these clamps aren't the kind that will sever a finger like those
industrial strength ones. Anyhow, I clamped the limbs handle to tip first,
then clamped the midlimb down for the R/D. |
 |
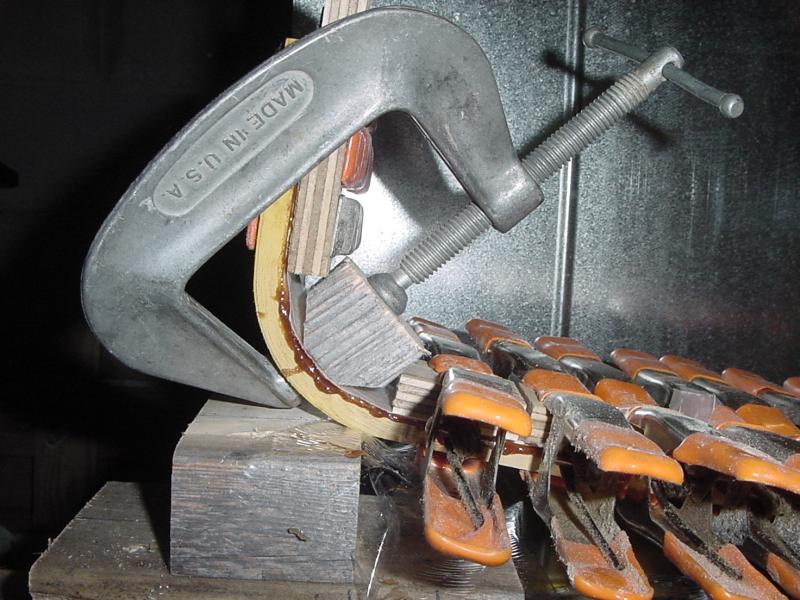
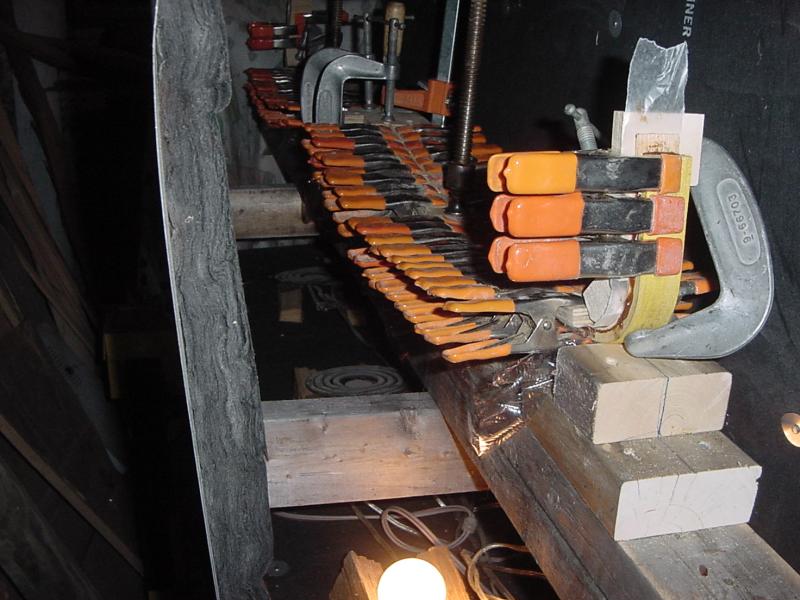
Here's how I did the recurves. Not perfect, but it worked. |
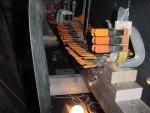 |
Into the hot box. You can see I screwed up the alignment of the backing a little. It
was only off by 1/8 inch. It went to the left on this tip and to the right on the other, so
I'm going to assume the center is ok and it just rotated a bit. I don't think it's worth
unclamping and putting more glue on to reclamp. I should have clamped the tips
before working down the limbs, in retrospect.
Those are 2 parallel wired stovetop elements wired in series with a
light bulb to limit current. I'm poor, so I have to work with what I can find in the basement ;) |
|
Page 1 | Page 2 |
Page 3 | Page 4 |
Page 5