Hickory Backed Mulberry Buildalong
Page 1 | Page 2 |
Page 3 | Page 4 |
Page 5
I started this project after getting home from a long summer of vacationing.
I was in the mood to build, but still only had mulberry laying around from 2 years
ago. I've made several selfbows out of it already, but I wanted to try something
different. Fall classes start soon, so I'm going all out with this bow. I'm going to
try many things that I've never done before and this bow will probably be beyond my
level of experience, but that's where the fun is! ;)
Disclaimer: My methods are just what I thought would work best, it is by no means
the 'best' way. In fact, it probably isn't the best way. I actually have very little experience
in composite bows, so I will gladly take any criticism you pros have.
|
9/1/06 - Conception
I figure if I'm going all out with this bow, I should make a static recurve because
I've failed in my attempt to build one in the past. The design is going to borrow
heavily from JD (aka horseapple) since I have loved his static recurves ever since
I read his bamboo backed osage build-a-long last year. My materials are going to be
red mulberry, hickory, and black walnut. If everything looks good, I'd like to try sinew
for some extra zip.
 |
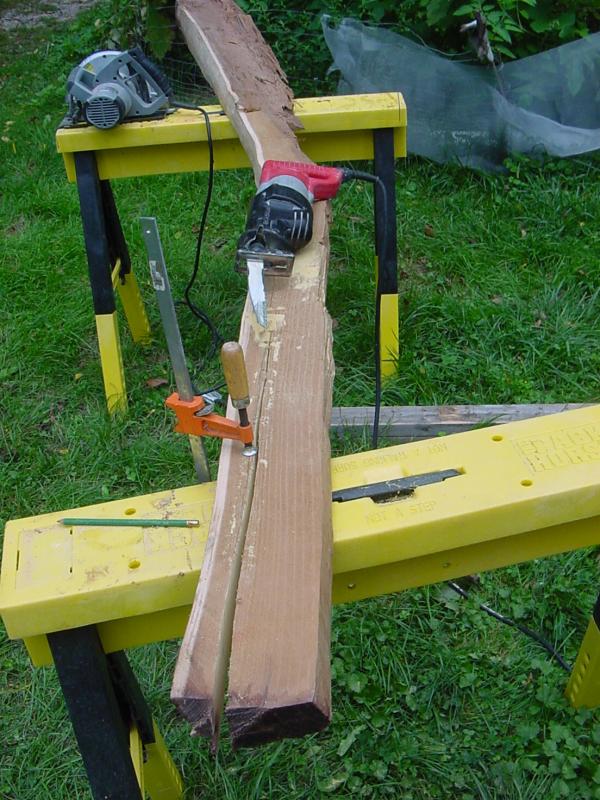
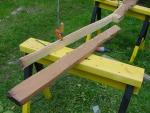
First step was to get some slats out of this mulberry. I found a nice flat
grained section to make quarter sawn slats from and flattened one side with
my drawknife. Then I started cutting it out with a sawzall |
 |
I left enough on the stave for a selfbow if I get bored later on ;) |
 |
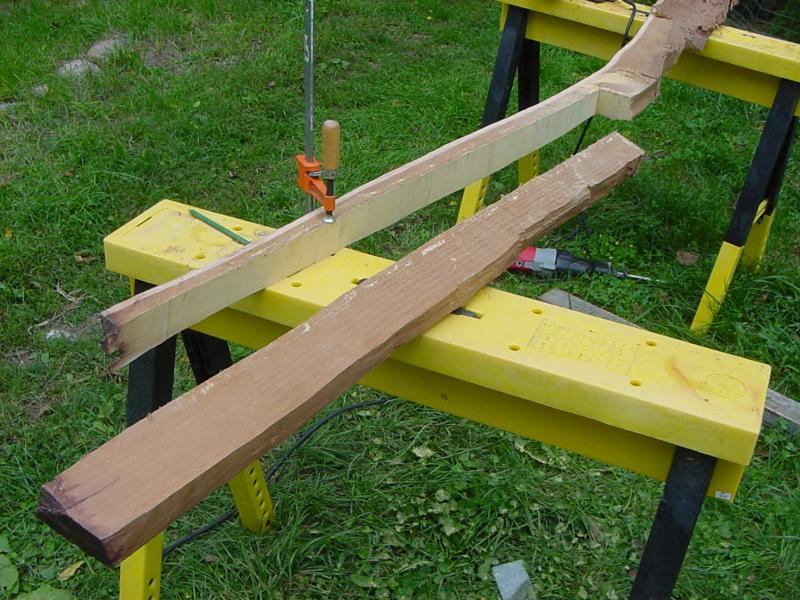
Squaring up wood like that is incredibly nerve-wrecking for me on a table saw. It doesn't
help that is an old portable table saw that amounts to little more than a circular saw
mounted upside down. I wish I had a bandsaw. |
 |
Finally a pair of 2x1/2 inch slats. It only took all day! |
|
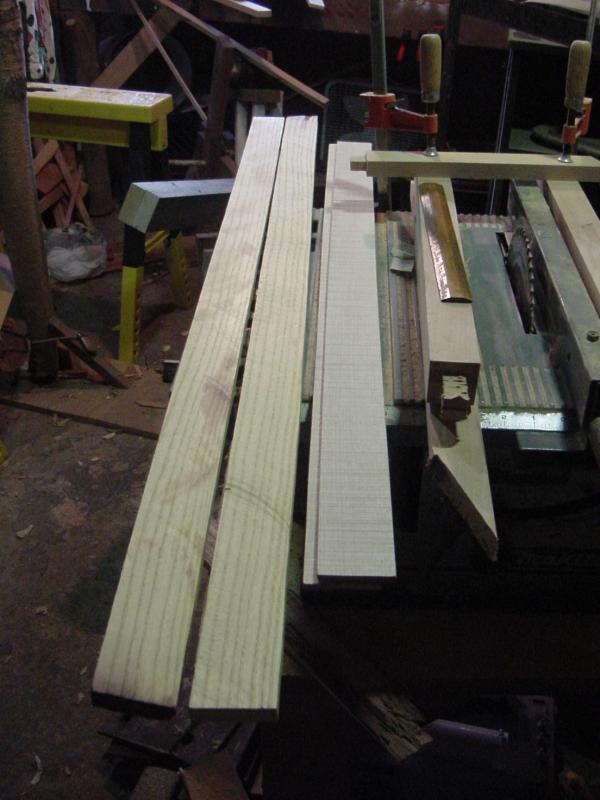
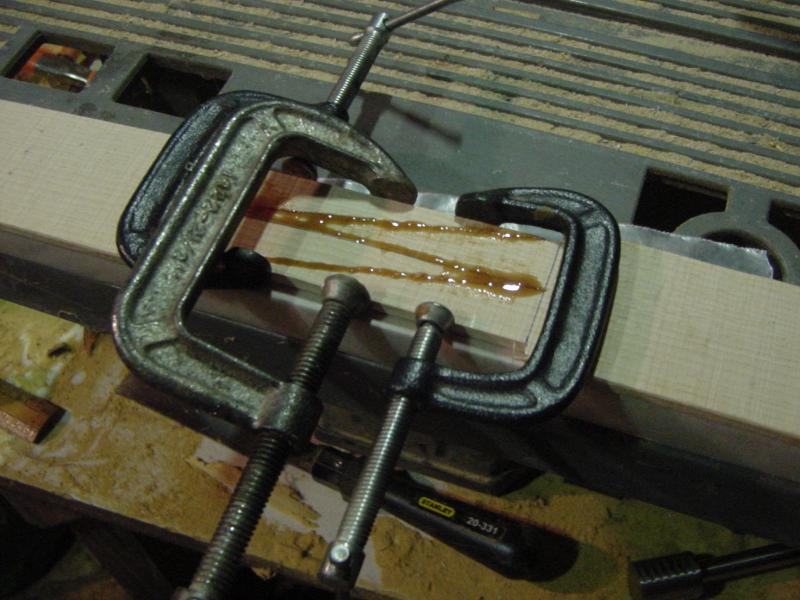
9/3/06 - Splicing
I received my hickory backing in two 36 inch pieces to save on shipping.
I'm going to have to splice both the back and belly. I'm hoping that alternating the
splices is enough to hold it all together. I may also put in a filler piece between
the backing and belly (a la JD), and a small patch over the back splice. I'm going to
be really pushing my luck later so I don't want to leave anything to chance.
 |
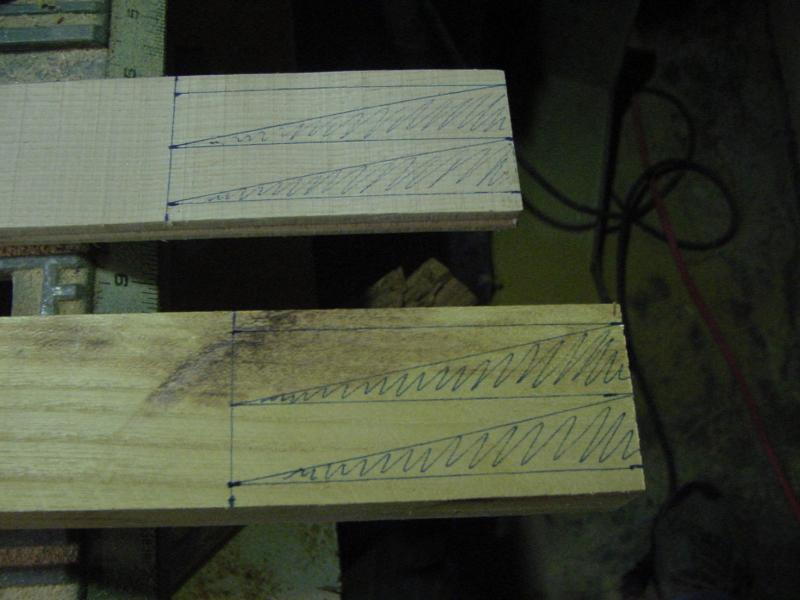
I made a 4 inch Z-splice. 3/4 inch to either side of the center line. I cut most
of it on the table saw to keep things squared up, but due to blade width I had to
hand cut the tip areas... |
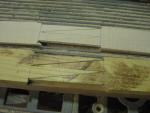 |
... and as you can see I butchered the tips. Ah well, Urac will fill gaps ;) |
 |
The hickory splice all clamped up. They both went in the hot box. |
|
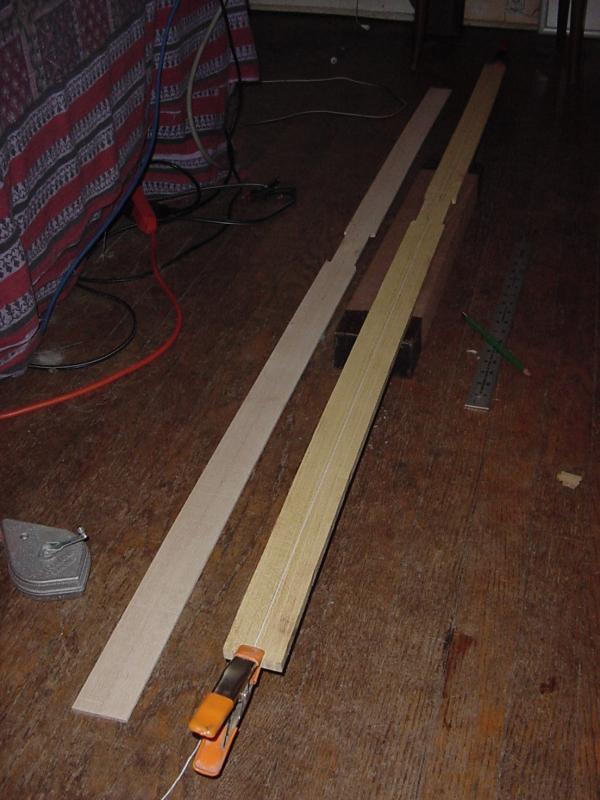
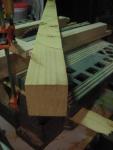
9/5/06 - Profile
Took me a while to come up with the profile. I wanted something not too long
but not so short that there is too little working limb. I decided to go with 64" NTN
with 6 inch static tips. The handle length is still up in the air, but I'm thinking 11
inches. This would give me a little over 21 inches working limb.
Width will be 1-1/2 inches from the center to 16-1/2 inches out (midlimb). Then it will taper
down to 1 inch at 26-1/2 inches from center. Then the last 6 inches will stay 1 inch wide
to the tip. It will be thinned after steaming and such.
 |
Drawing the centerline. I ended up doing this 3 times until I was satisfied with
looking down the slat. I forgot to take pictures after penciling in the profile. |
 |
I hogged out most of the profile with a drawknife (wishing I had a bandsaw again).
I cleaned it up with the bench sander. |
 |
Approximately to size and ready to steam. |
|
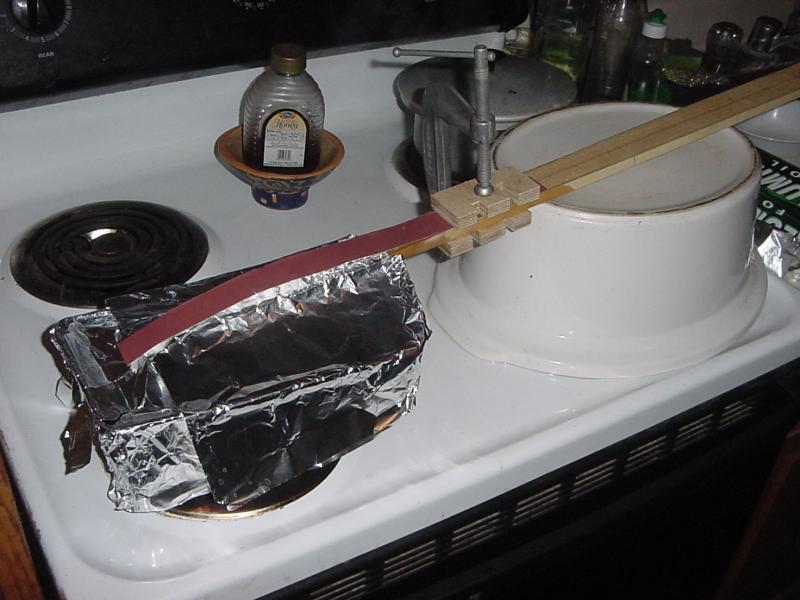
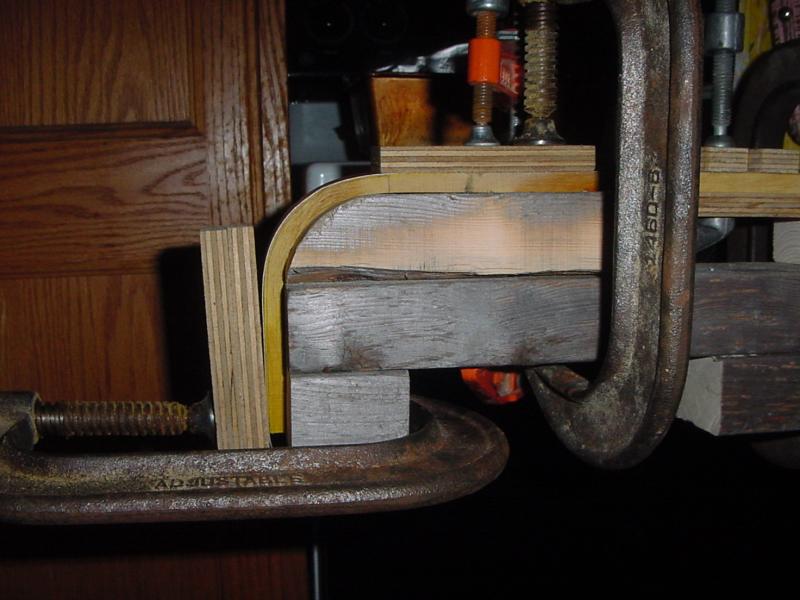
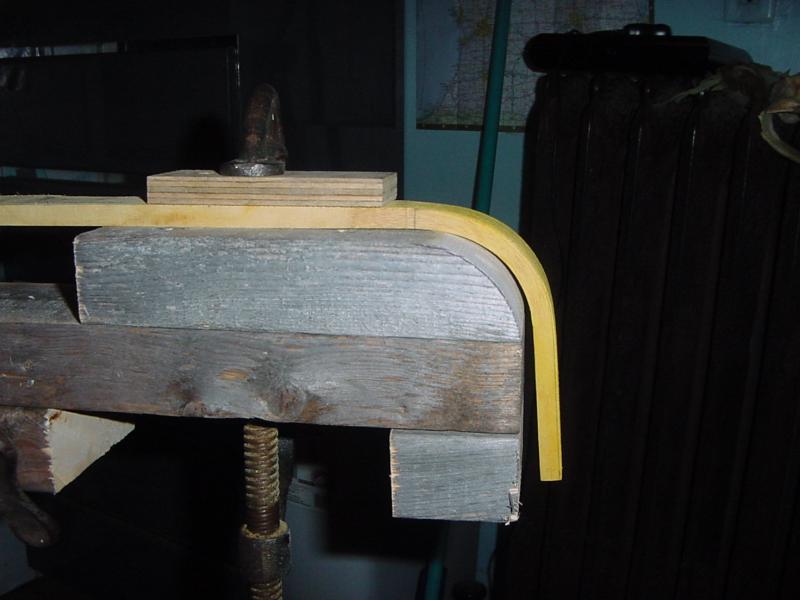
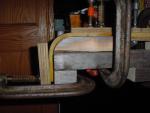
9/7/06 - Steaming
This was going to be one of those critical moments when the project would
either continue or utterly fail. I made the
form with a 90 degree bend around a 1-1/2 inch (!!) radius.
The tip was thinned to 3/8 inch before steaming.
 |
Steaming in a pan. The pressure strip is pre-clamped because timing is the key to
bending wood this much. I steamed for a long time, almost 3 hours. I wanted this wood
waterlogged. |
 |
I prepare *everything* that can possibly be prepared to save time. The form is on
the ground with the clamp pre-measured such that I only have to give it a 1/2 turn to clamp
the tip and pressure strip (which is actually all I am able to turn it without lifting the
clamp off the ground). |
 |
Success! Total time out of the steam was less than 2 seconds. |
 |
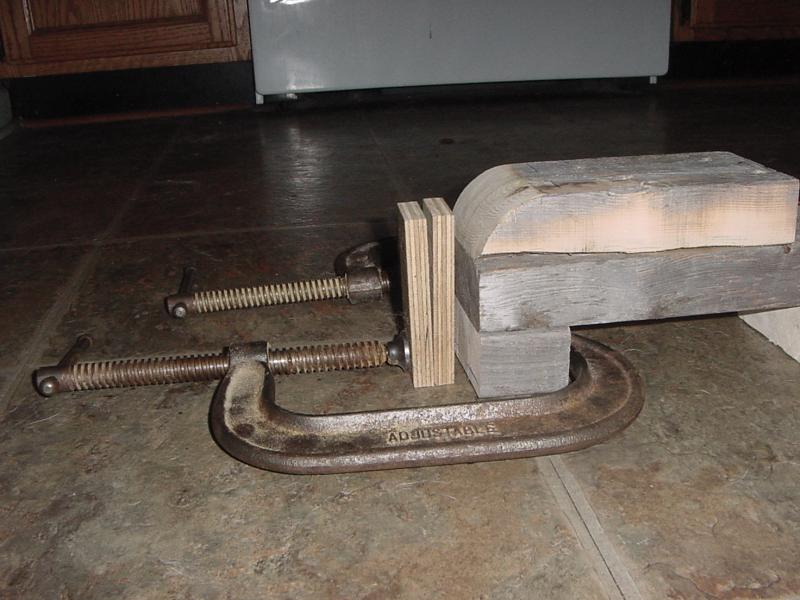
After waiting 16 hours or so I dry heat it. Be careful with this, I've caused
checks to form by heating it up too much with deep bends like this. It kept almost all
of the bend, good enough for me! |
|
Page 1 | Page 2 |
Page 3 | Page 4 |
Page 5