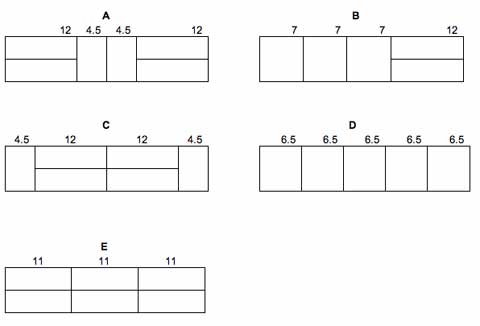
When last we left our little project, I was waiting for the breakfast bar bracket parts to come in. I also had to decide on a configuration for the over-the-refrigerator organizer and order it, and pick out tile and paint for the kitchen walls. Below are some of the possible configuration options I considered for the organizer - I could also have done others, so long as they fit the overall space (6" tall and 33" wide).
A few weeks passed. I eventually decided on configuration C (two outside compartments, 6" tall and 4.5" wide, and four center compartments, 3" tall and 12" wide) for the organizer. Since it had to be special ordered, I was told it would take 3-4 weeks. The plan then was to have the tile put in at the same time as the organizers, so the workers wouldn't have to come out two different times, thus saving me some money.
Deciding on wall tile was almost as hard as picking out a countertop pattern for me. Because the wall space above the counters is rather small, I was limited to 4" square title. I found a pattern I thought would work in the first place I went to, but it didn't scream "this is the one!" the way the floor pattern had. So I went to a number of other places, looked at tile online, looked at pictures in magazines, and four weeks later...settled on the first pattern that I'd liked. Figures.
In addition to the 4" tile, I bought several 4" decorative pieces from the same pattern, and some rectangular border pieces to run along the bottom. I also decided I wanted the square tiles placed at a 45 degree angle. This looks better, but following my favorite redecorating rule, it therefore costs more to install, since more of the tile has to be cut before it's put in place.
No sooner had I ordered the tile, then I learned that the organizer had finally arrived (good timing, that). So I set up a day to have the contractors install the tile, organizer and breakfast bar supports. Of course, following another redecorating rule (nothing ever finishes on schedule), the only part that actually got done was installing the tile. Another day had to be scheduled for them to return and put in the grout, the organizer and the breakfast bar supports.
| The organizer, standing on its side. | The end tiles (called bullnose because they have a rounded outer edge), along with some of the border tile. |
 |
 |
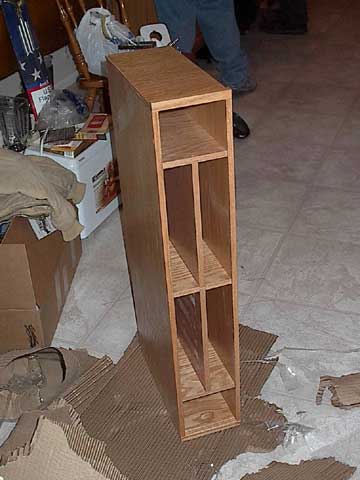
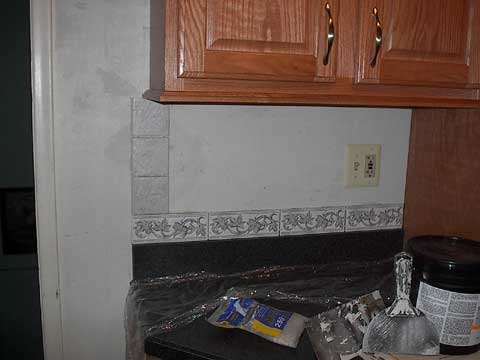
| More of the border tile. The cardboard is to protect the counter from accidental scratching. | The bullnose and border tile on the wall next to the refrigerator. Unlike the rest of the 4" tiles, the end tiles are not placed at a 45 degree angle, since that would defeat the point of the rounded edge. |
 |
 |
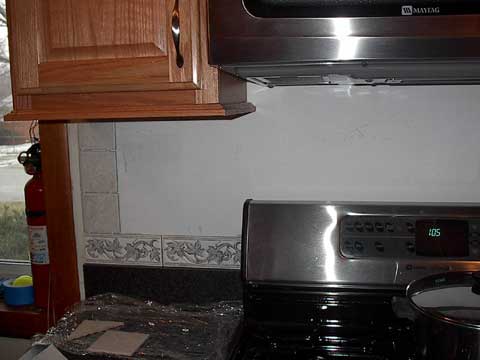
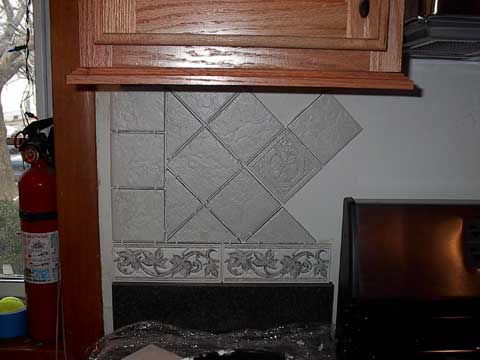
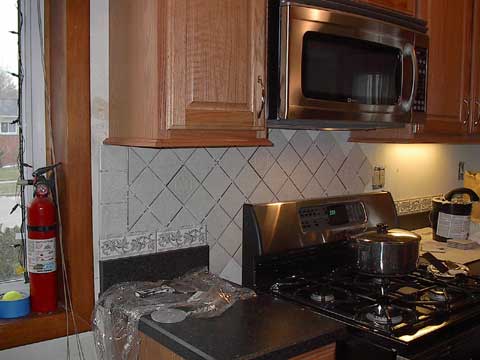
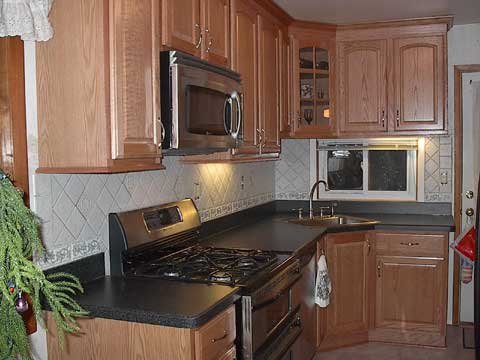
| The first of the regular tile is in place, along with one of the decorative tiles. In between the tiles are pieces of plastic called spacers, to make sure they are an even distance apart. | More tile is installed. Since the counter backsplash doesn't run behind the stove, the border tile doesn't either. Instead, the square tile is run down far enough so that the bare wall won't be visible behind the stove from the side. |
 |
 |
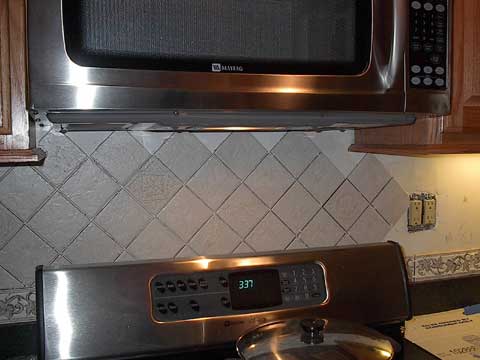
| A closer view, with two more of the decorative pieces. | The tile behind the stove. That's as far down as it goes. |
 |
 |
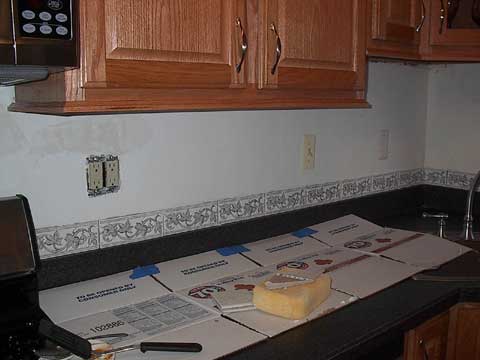
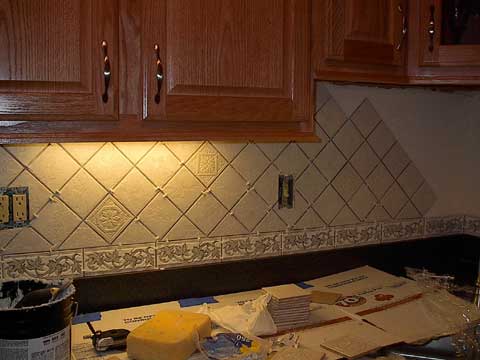
| The work progresses. You can see the spacers much more clearly here. | The long section of wall is finished. |
 |
 |
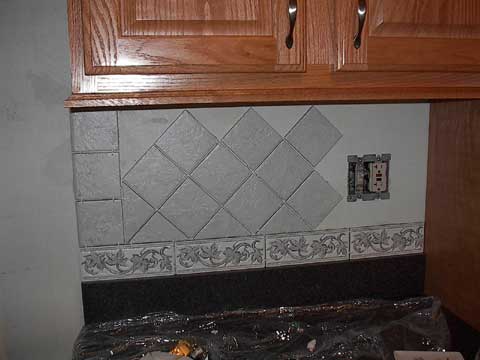
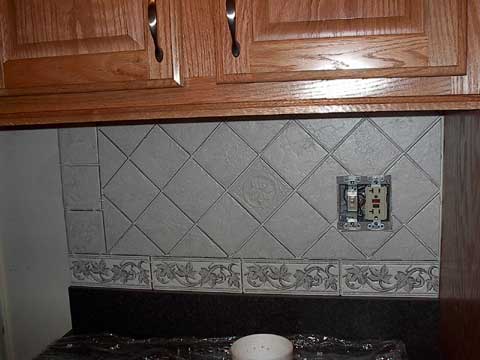
| Now we have the short piece of wall next to the refrigerator. | And now that's finished too. |
 |
 |
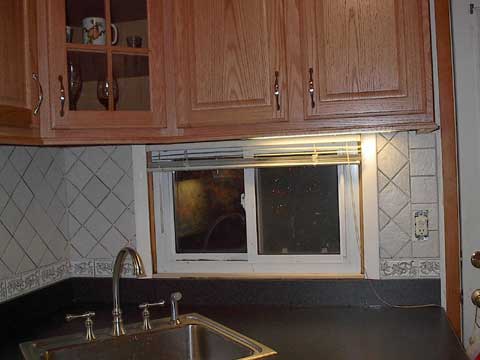
| An overall view of the finished long wall. | Same wall, viewed from the side door. |
 |
 |
<---Day Eleven Day Thirteen--->