 There still remains one action menu that we have not yet used, and that is the Filter menu (left). There are far too many filters for me to describe every single one in detail. Instead, I will discuss the main menu items and some of the more useful sub-menu items and demonstrate ways to use them to obtain often surprising results. I will also show how filters can be used in combination to make your image really sparkle.
The very top item on the menu with the keyboard shortcut Ctrl + F is simply a repetition of the last filter that you used. It will change every time you use a different filter. This is a convenient function because sometimes the same filter must be applied multiple times in succession to attain the desired result.
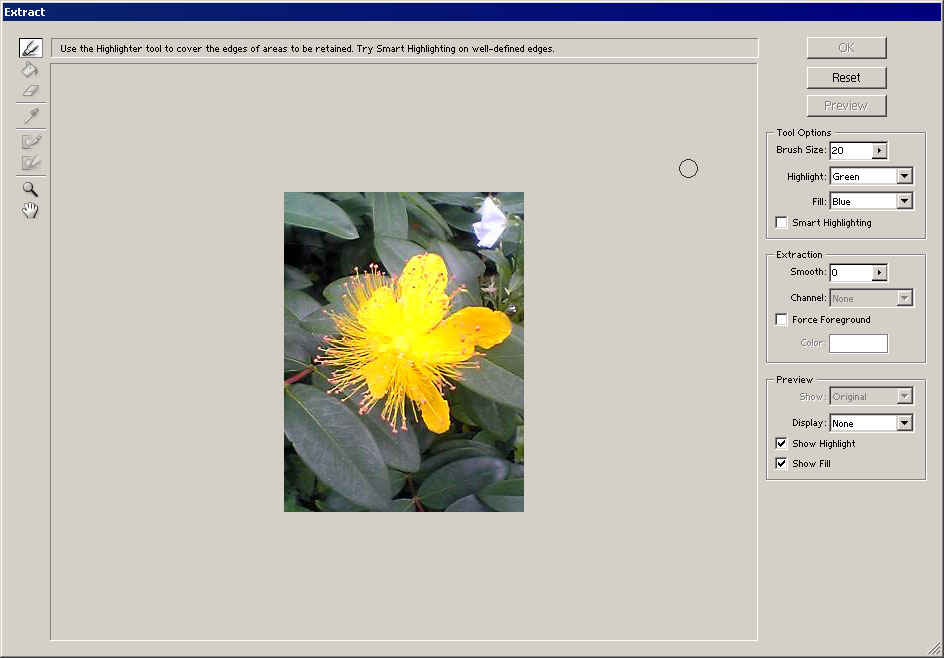
Extract is a function that helps you extract an object from the background. It is similar to the Lasso, except that it provides far more precision. It is generally used when the outline of an object is difficult to trace by hand, particularly in cases of animals or people with stray hairs flying about.
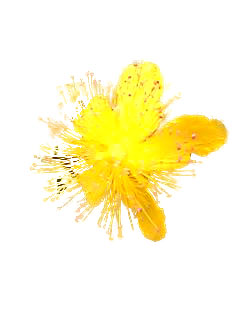
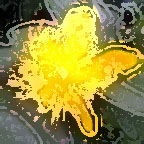
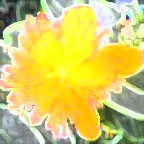
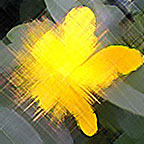
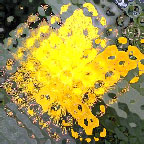
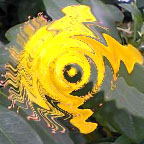
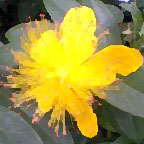
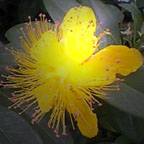
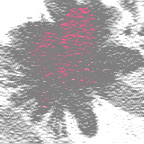
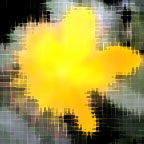
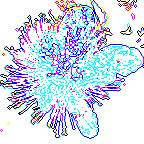
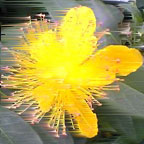
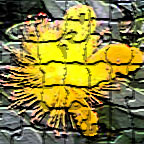
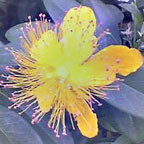
Open the image from which you wish to extract an object and activate the Extract filter. As an example, I have chosen a flower with a lot of hairlike projections (below). Use the highlighter to highlight the edges of the object to be extracted. The key is to use a relatively thin line on clear edges and a thick line on edges that are more difficult to discern.
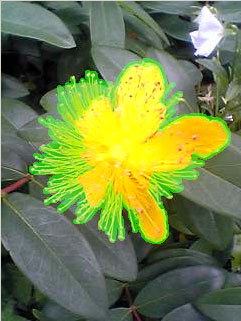
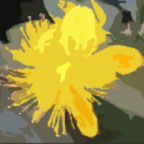
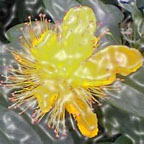
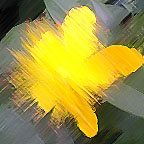
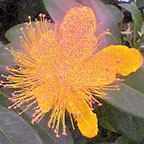
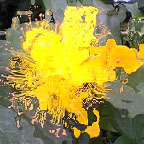
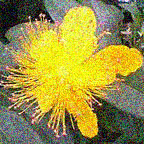
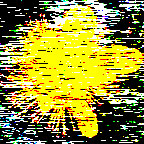
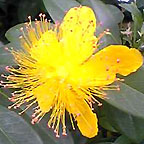
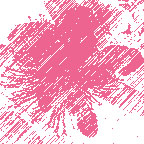
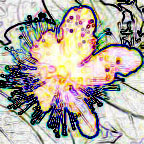
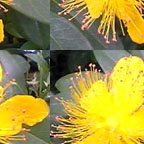
 When you've finished highlighting the edge, the image should look something like the picture on the left. Use the paint bucket Fill icon and click on the inside of the highlighted area to show which part you want to keep and then perform the extraction. (You can also fine-tune first using the Preview function.) The resulting extracted flower should look like the picture on the right.
If you find you're having a hard time extracting an image with the other selection tools, you might want to give Extract a try.
The next item on the menu, Liquify, allows you to warp the image. The Liquify workspace looks similar to the Extract workspace, but it has a set of tools for twisting, rippling, expanding, contracting, and making other such changes to the image. These tools smear the colors as if the image were made of wet paint.
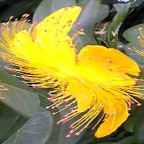
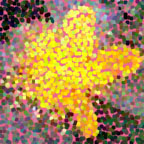
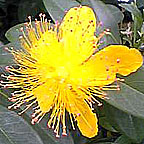
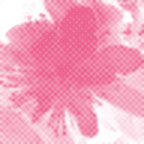
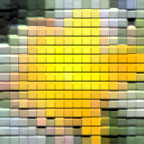
The Pattern Maker item takes a rectangular selection and samples the pixels in it to create a tile that can then be repeated as a pattern. This pattern can be saved to use later as a texture, or you can use it as an image, such as for the background of a web page.

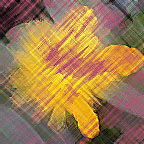
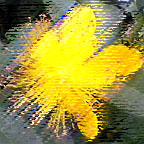
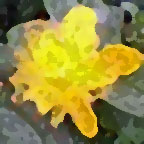
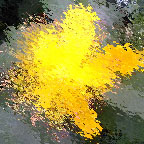
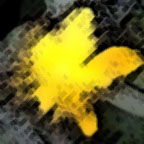
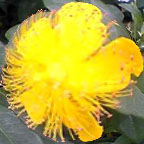
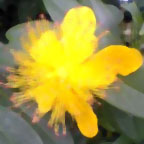
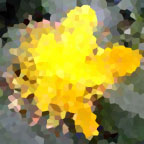
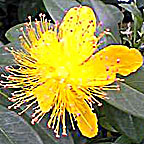
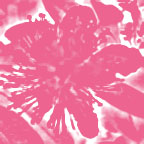
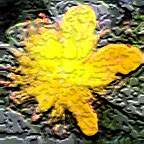
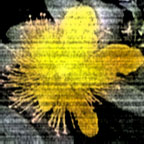
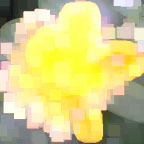
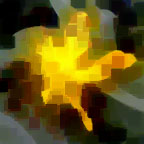
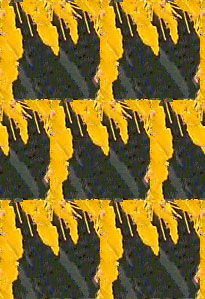 For example, a clipping from the yellow flower picture (left) could be converted into a repeating pattern similar to the one shown (right). If you are not happy with the first pattern generated, you can keep generating more random patterns until you get to one that suits your needs.
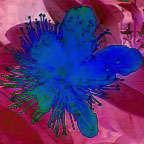
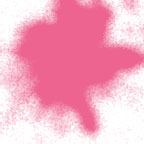
For the rest of the filters, nothing beats experimentation to familiarize yourself with what they can do. Many of them use the foreground and background colors for their effects. I generated these examples with a white foreground and a pink background. Each filter has its own dialogue box with settings that can drastically change the result, so play around with the values while watching the preview to see what happens.
Artistic
This sub-menu allows you to simulate the effect of using artistic equipment and media such as colored pencils, pastels, and watercolors. Some examples of the effects are shown below. For most, the artistic effect is obvious...but plastic wrap? Surprisingly, this filter is useful for giving objects in your image a watery, glassy, or even metallic shine. It can also be used to give objects a "gummy" appearance that's great for logos.
 Colored Pencil |
 Cutout |
 Dry Brush |
 Plastic Wrap |
 Rough Pastels |
 Sponge |
Blur
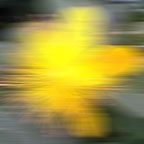
The Blur sub-menu does exactly what it says--it blurs your image. The three most important items on the menu are Gaussian Blur, which allows you to specify how many pixels to blur, Motion Blur, which causes "speed lines," and Radial Blur, which either swirls the picture in a circle (below) or makes lines radiating outward from a point. Gaussian Blur is invaluable for softening items in your image, especially when painting highlights and shadows by hand or adding a soft glow. Motion Blur and Radial Blur can be useful in combination with other filters to make patterns and textures.
 Gaussian Blur |
 Motion Blur |
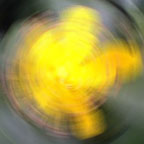 Radial Blur |
Brush Strokes
This is very similar to the Artistic sub-menu. Some of the possible results are shown below.
 Accented Edges |
 Angled Strokes |
 Crosshatch |
 Spatter |
 Sprayed Strokes |
 Sumi-e |
Distort
The Distort sub-menu warps and disrupts the image in a number of different, often extreme ways. Some important examples are shown below. Shear, in particular, is helpful when you want to warp an object to fit a specific curve, such as when you add a logo or pattern to something you want to appear three-dimensional.
 Diffuse Glow |
 Glass |
 Ocean Ripple |
 Shear |
 Spherize |
 zigzag |
Noise
The Noise sub-menu is used especially when repairing photographs. It helps to make small blemishes less noticeable. It can also add noise, which is convenient when combining filters to make patterns. The items of the Noise sub-menu are illustrated below.
 Add Noise |
 Despeckle |
 Dust & Scratches |
 Median |
Pixelate
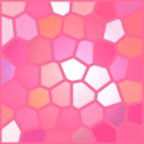
The items on the Pixelate sub-menu distort the colors of the image by grouping areas of nearby pixels together into large blocks or dividing portions of the image into various shapes and sizes. Examples of this are shown below.
 Crystallize |
 Facet |
 Fragment |
 Mezzotint |
 Mosaic |
 Pointillize |
Render
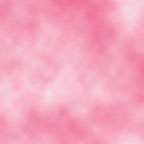
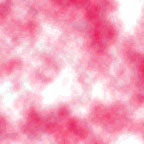
This sub-menu allows sophisticated three-dimensional manipulation and lighting effects. The cloud filters, in particular, are extremely convenient when combining filters to make patterns. Samples of this sub-menu's functions are illustrated below.
3D Transform |
 Clouds |
 Difference Clouds |
 Lens Flare |
 Lighting Effects |
Sharpen
This is another sub-menu often used for photo repair. It emphasizes the outlines of objects as determined by sharp differences in color or intensity. The items of the sub-menu are demonstrated below.
 Sharpen |
 Sharpen Edges |
 Sharpen More |
 Unsharp Mask |
Sketch
This is another sub-menu designed to simulate artistic drawing techniques and media. Most of the items in the sub-menu rely heavily on the foreground and background colors. Some examples are shown below.
 Conté Crayon |
 Graphic Pen |
 Halftone Pattern |
 Photocopy |
 Torn Edges |
 Water Paper |
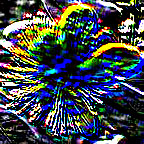
Stylize
This sub-menu distorts the image colors in extreme ways. It is very useful when designing patterns and logos. Samples of this sub-menu are illustrated below.
 Diffuse |
 Extrude |
 Find Edges |
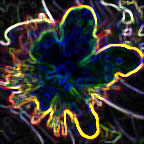 Glowing Edges |
 Trace Contour |
 Wind |
Texture
As the name suggests, this sub-menu applies a three-dimensional or other texture to the image, as shown below. If used creatively, these items can incredibly enhance your work.
 Craquelure |
 Grain |
 Mosaic Tiles |
 Patchwork |
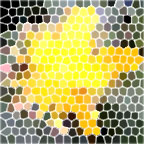 Stained Glass |
 Texturizer |
Video
The items in this sub-menu apply to video and not still images.
Other
This sub-menu allows various other functions (below). In particular, the Custom item lets you input values to design your own filter.
 Custom |
 High Pass |
 Maximum |
 Minimum |
 Offset |
Digimarc
This allows you to embed or read an electronic "watermark" to signal that the image is your copyrighted property.
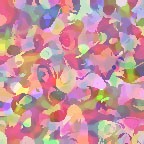
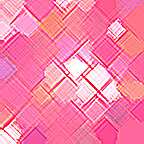
The filters themselves can provide amazing results, but the real power lies in combining them to create new and unique effects. Below are some suggestions for ways that you can combine filters.
 Fill (Reddish Gray) |
 Add Noise (20%) |
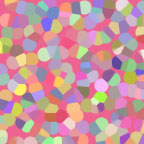 Pointillize (Size: 15) |
 Dry Brush (10, 5, 1) |
 Rough Pastels (10, 5, Sandstone) |
 Spatter (10, 5) |
 Fill (Dark Pink) |
 Pointillize (Size: 20) |
 Gaussian Blur (2px) |
 Stained Glass (10, 5, 3) |
 Crosshatch (20, 10, 2) |
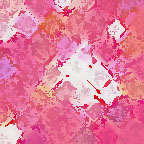 Sponge (0, 5, 1) |
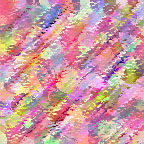
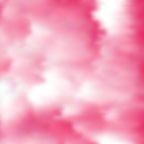
 Clouds |
 Unsharp Mask (250%, 25px, 0) |
 Unsharp Mask (250%, 25px, 0) |
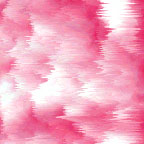 Wind (Stagger, Right) |
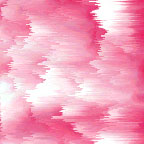 Wind (Stagger, Right) |
 Gaussian Blur (2px) |
In addition to clouds, various combinations of filters can be used to simulate animal fur, wood grain, stone, water...lots of different patterns. Use your imagination and experiment for yourself!
This is the last of the intermediate level lessons, so if there is anything you don't understand well yet, go back and practice it before proceeding.