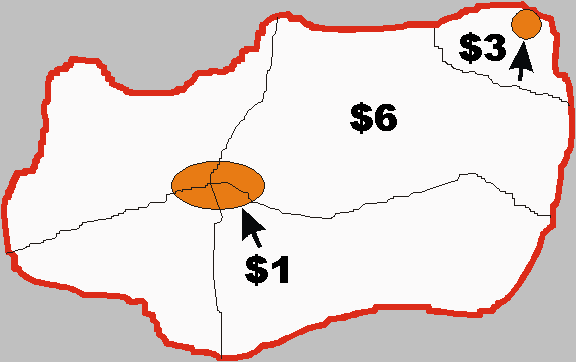
Figure 3. Path 2 Multiple Cost Levels