Thursday, June 30, 2005
Connecting the wires
Perhaps you've been wondering what a heat-shrink butt splice looks like up close. Well, here it is!
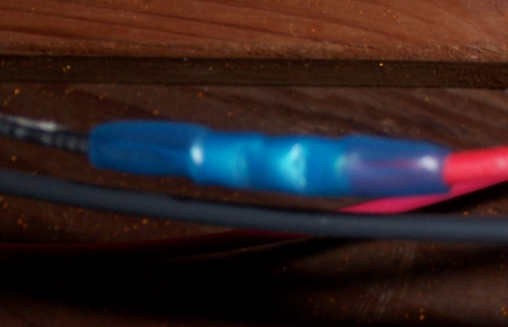
The stripped ends of the wires are inserted into the inner metal sleeve of the splice, which is then crimped down on the wire to hold it securely in place and to provide the electrical connection. When both ends are connected, a heat gun is used to shrink the plastic cover securely around the metal and the wires, keeping dirt and moisture out.
I've made 100 of these connections between the shingles and to connect the shingle strings to the wires which eventually lead to the basement and the charge controller.
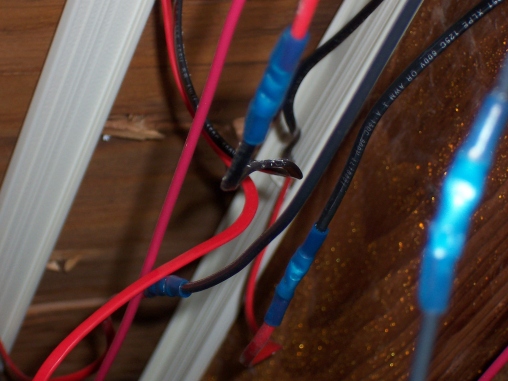


I got a few of them wrong, as we discovered last night. I'll fix them tonight. I'm also expecting to receive a replacement "Mate" from Outback. The Mate is the computer which communicates with and controls the inverter and the charge controller, monitoring the system. The one I had purchased apparently has a defective clock. I called Outback's customer service on Tuesday, and by telling me to push a few buttons they were able to confirm that the Mate was defective. They said they would send me a new one right away--hopefully it will be there when I get home. One the remaining connections are fixed, the system should be fully operational, with only a bit of final conduit work and other niceties left. Once these are done, we can call the inspector and hopefully get a final sign-off on the project!
The stripped ends of the wires are inserted into the inner metal sleeve of the splice, which is then crimped down on the wire to hold it securely in place and to provide the electrical connection. When both ends are connected, a heat gun is used to shrink the plastic cover securely around the metal and the wires, keeping dirt and moisture out.
I've made 100 of these connections between the shingles and to connect the shingle strings to the wires which eventually lead to the basement and the charge controller.
I got a few of them wrong, as we discovered last night. I'll fix them tonight. I'm also expecting to receive a replacement "Mate" from Outback. The Mate is the computer which communicates with and controls the inverter and the charge controller, monitoring the system. The one I had purchased apparently has a defective clock. I called Outback's customer service on Tuesday, and by telling me to push a few buttons they were able to confirm that the Mate was defective. They said they would send me a new one right away--hopefully it will be there when I get home. One the remaining connections are fixed, the system should be fully operational, with only a bit of final conduit work and other niceties left. Once these are done, we can call the inspector and hopefully get a final sign-off on the project!
![]()