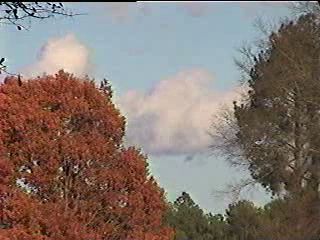
the original images |
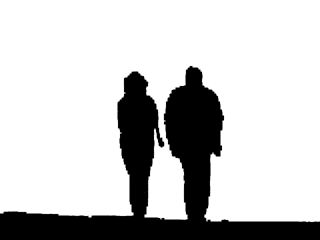
the masked images |
 |
 |
 |
 |
 |
 |
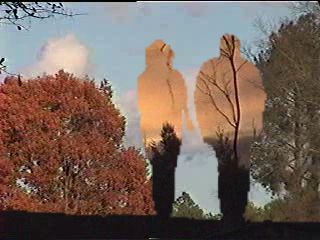
A view of the use of masking in Photoshop and Premiere.
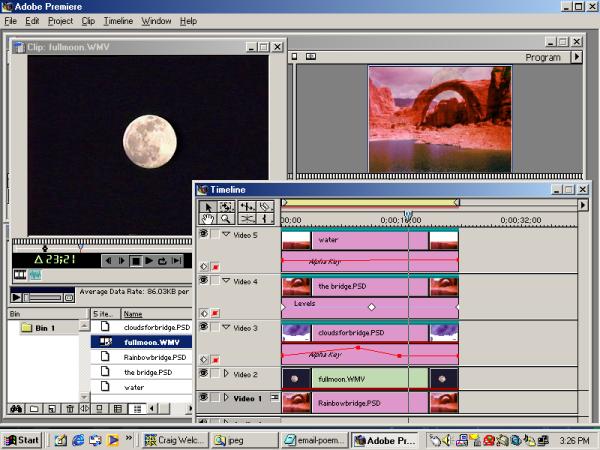
The entire project which uses Photoshop images with masked areas extensively.
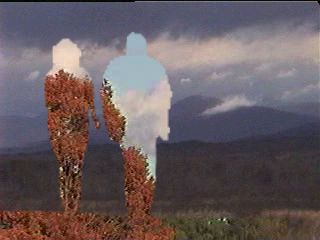
An example of masking used in a title
segment. The egret clip is seen later in this example in its unaltered
form. Here the clip was slowed in speed and interlace flicker was
minimized by first exporting the clip as filmstrip and then importing
the filmstrip version. The masking of the background was accomplished
by copying the clip and pasting the copy in the track above. The clip
in the upper track was keyed with RGB differnce to make the white
bird transparent; then the resulting transparency was set to show
only as a mask. This black and white mask was used to hide the
background of the lower video track version by keying the transparency
of the lower track to 'track matte' and reverse the key to keep
the bird from vanishing. An example of a very effective use of masking
in this manner for a title segment is seen in David Lynch's
Mulholland Drive where the shadows of the jitterbug dancers
are used as a transparency mask to again reveal dancers inside
the shadows, creating a device to reinforce the film's content.
|
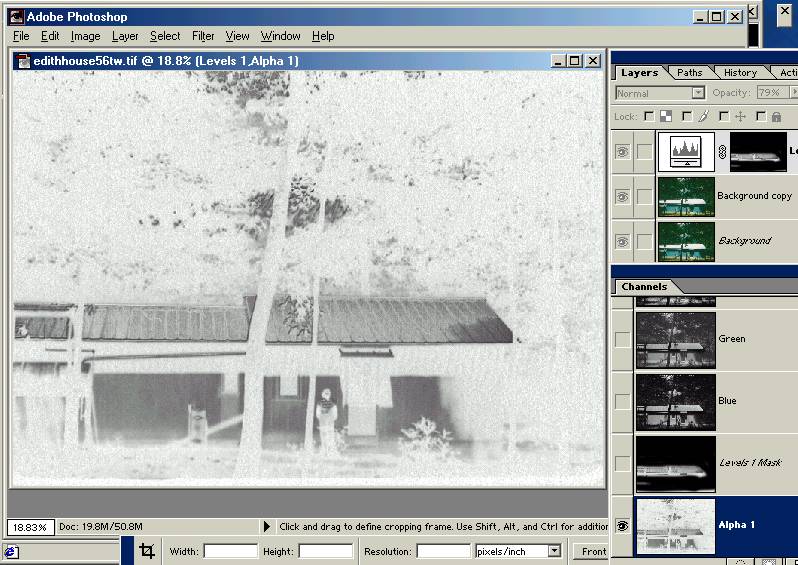
Using Image Calculations to build a grayscale mask with Photoshop.
An example using Phtoshop to create masking control:
The red channel was blended back into itself with color burn using
the Image Calculations command: an important step in recovering detail
in the roof. The metal roof detail had been mostly washed out by
bright reflections in the original color slide. The resulting
grayscale was then reversed to form a negative and saved as an
alpha channel to be used as a control mask for Levels. The final
adjustment to the new alpha channel was to adjust the brightness
for the correct grayscale value of the metallic surface and then
add significant contrast to sharpen the detail. This alpha channel
was loaded as a mask for a Levels adjustment layer and the mask
was blacked out in all regions except for the metal roof. Now the
Levels adjustment layer could be used to add missing color onto
the restored detail. Video work can be managed much in the same
way that Photoshop uses alpha channels for masks. In Premiere,
the mask is created as a grayscale video track added above the
original and the appropriate transparency keying is used in the
track below the grayscale track. By exporting a video track as
Filmstrip format, the clip can be loaded into Photoshop and
turned into a grayscale using the Image Calculations command to
achieve the powerful diversity of grayscale possibilities that
Photoshop can accomplish. Resaving as Filmstrip format and imported
back into Premiere, the grayscale clip can be used as a matte
track to control transparency in the track directly below. This
masking technique as a matte track is commonly used in color
correcting restricted portions of a video clip. The skills to
be developed for both Photoshop and Premiere are identifying
the regions to be corrected and visualizing what manner of
grayscale mask will successfully control the adjustment!
|
Photoshop Channel Mask and an Animmated 3D Mask.
Two short videos.
Premiere basic, class 1.
Back to the Premiere graphics page.
page 1 | page 2 | page 3 | page 4 | page 5 |
page 6 | page 7 | page 8