Battle of the Boyne July 1, 1690
played
March 20, 2003
AAAHMGG played out the Battle of the Boyne as the first Bill Marshall
Memorial Game, one year after his passing. For this series we will play either
a game with his preferred style of rules (ala Featherstone), or with figures he
painted or about Canada. In this case it we used figures painted by Bill for
his early 18th century campaign. We backed up a ways to use them for a 1690's
game using DBR. I rebased them for DBR but did not flock them. Some of the
uniforms are not appropriate but do for us. The Dutch Guard should be Blue not
Orange. Sorry to purists
We have done many early DBR games from Fronovo and even up to the ECW and
around the world, including India, China and the new world. We wondered how the
rules would do for the later time.
The game was done in condensed scale -- 50p=20mm. The layout was as 6 by 8
foot area with the basics of the Boyne terrain included. There was the river,
with one known ford, the village of Oldbridge across the ford from the British
lines. The hill of Denore with a small village thereon. There were 6 players
per side and we had a total of 700ap per side. Even with that large ap, the
commands were small so we allowed them to break at 50% loses instead of 33%.
Commands were deployed as cards with the direction of moment noted and the
formation of the command drawn on the bottom side. Cards moved 300p in open and
50p over the river. They were revealed if enemy came within 300p.
The army lists were pretty much the minimum allowed for line troops and the
max for all elite and optional types for both the Jacobites and Williamites.
The figures were from a variety of late 1600 armies with the English generally
in Red (on both sides), the Dutch in orange, the French in light grey,
Swedish/Hugenouts in blue, and the Irish levies in a variety of color. I
rebased many of the elements for the game and did not have time to flock them.
In general Sh(S) and Pk(O) were 4 figure elements. Shot(O) and (I) and Pk(I)
and (F) were 3 figures, and Shot(F) 2 figures. Pistols(O) were 3 figures while
(F) were 2. I like to use the 25mm basing conventions for 15mm too as it saves
on costs.
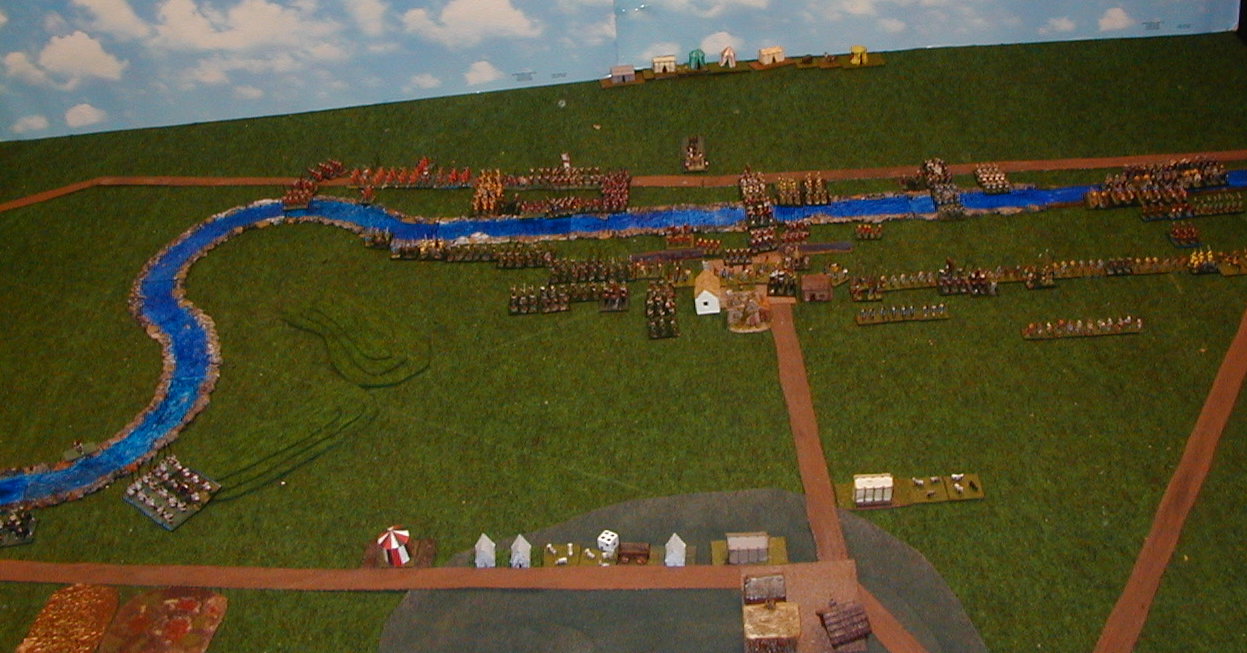
The Players: This picture shows all the
players (Bob is taking the picture). From left: Williamites - sitting Bill
Franks, standing, Ken Fox, Steve Roper (CinC), sitting Bill Boardman, standing
Dave Cinabro, Jacobites: Jim Kirwan, Paul Oheton, sitting Jeff Krenz, standing,
Steve Miller, Antoine, and Mike Oheton (Jacobite CinC). The picture shows the
layout of the game and the intial placement of the hidden commands by cards.
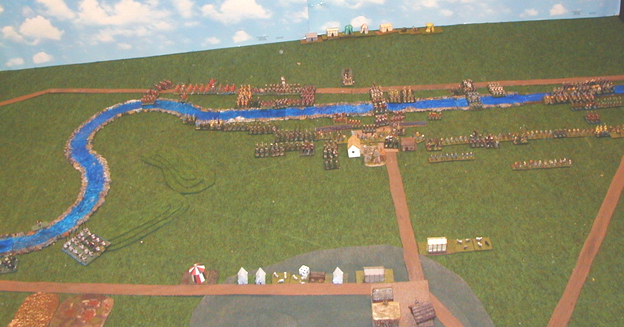
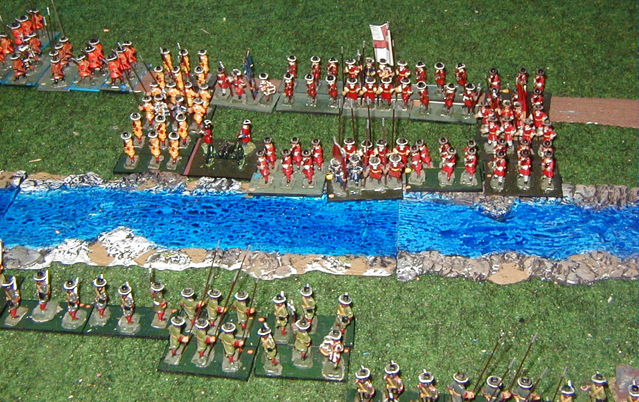
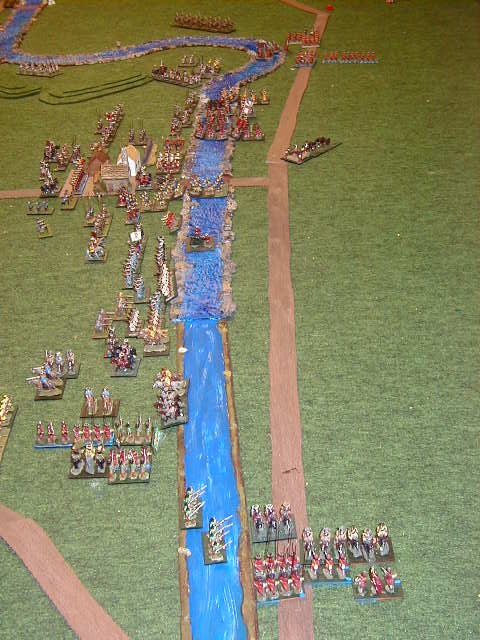
Overview at end of first day: This shows
the game after all the hidden units are revealed. After about 6-7 bounds. The
British did not send any troops to come around behind the Irish, instead sent
all straight over the river by Old Bridge. The Irish did send the French and
the Cavalry up stream (to the left) to guard against an British attack. At the
top of the picture from left to right are the Williamite Dutch troops, then the
Briish Contingent, next the British Guards, followed by foreign troops (Shot
superior), next to the right are the Swedish infantry (shot and pike fast) and
lastly on the far right is the British cavalry contingent with Pistols fast and
ordinary. The Irish on the bottom side of the river are mostly Shot and Pike
inferior except on the far right opposite the cavalry are the Irish veterens
and guards. closeup
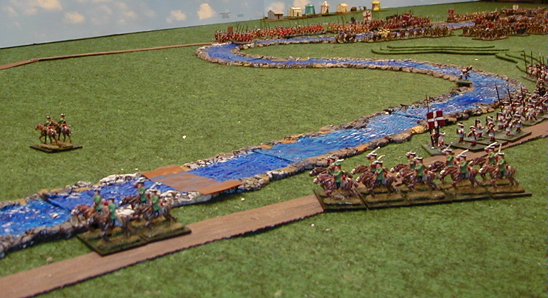
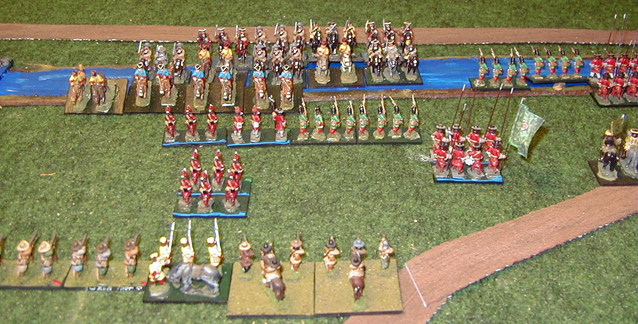
Irish left: This shows the Jacobite
cavalry and the French contingent, attemping to cross over the ford. No British
troops have come this way.
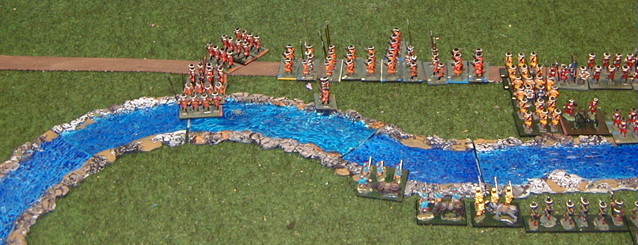
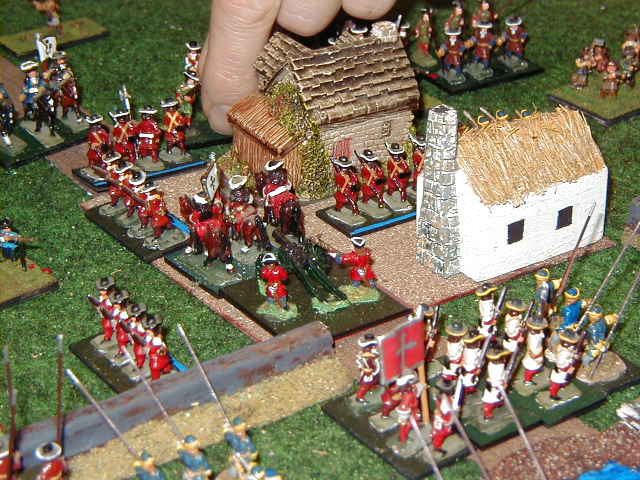
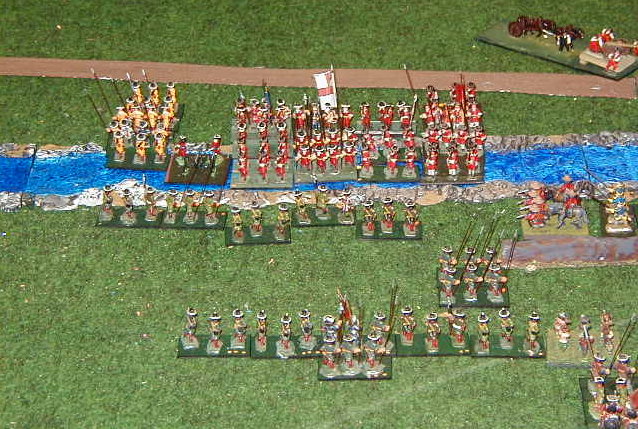
Some close ups of the Dutch contingent,
the English attack over the river, and the English and allied cavalry.
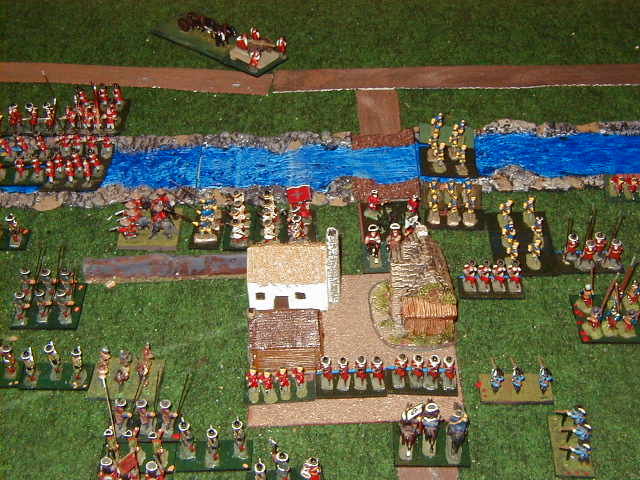
Closeup of the Center at end of first day
The game was played to conclusion the following week. We had half the
players available so we doubled up on commands. They were small to start with
so not a problem. Stefaen Van Roper, commander of the Williamites, continued
his push into the town and pretty much
secured it. The Jacobite cavalry under CinC Mick O'Heton that had gone to cover
the ford tried to come back into play but never made it back in time. Likewise
the French tried to march back to defend the
main Williamite attack but never had any combat. The other strong command of
the Irish tried to make an attack around the English left but were stopped by William's cavalry under the Scots general Beattie.
Thus the brunt of the entire English attack was borne by three weak Irish
commands. On the middle right, McKnez's brigade
was almost wiped out with few losses to the allies attacking (the consequences
of Shot(S) attacking Shot and Pike(I)! The same happened at the center of the Irish that was attacked by more
Shot(S) and Shot(F).
In the Irish left, the English and Dutch did
not gain much of a foothold but were advancing without much trouble once they
got started. McMiller's Irish Brigade was being pushed back by Lord Fox.
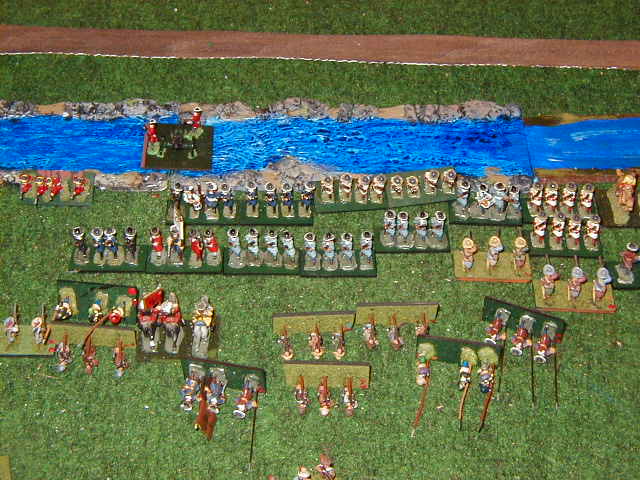
Here is the final picture. The Irish had
commands broken or near breaking to award William the field.