Photoshop clouds tutorial:
Make quick, easy clouds with texture.
(Less than 15 minutes, no talent required.)
- Create a blank RGB space image with a transparent background.
- Press "d" to get the default colours: black foreground, white background.
- Fill the initial layer solid (command-delete).
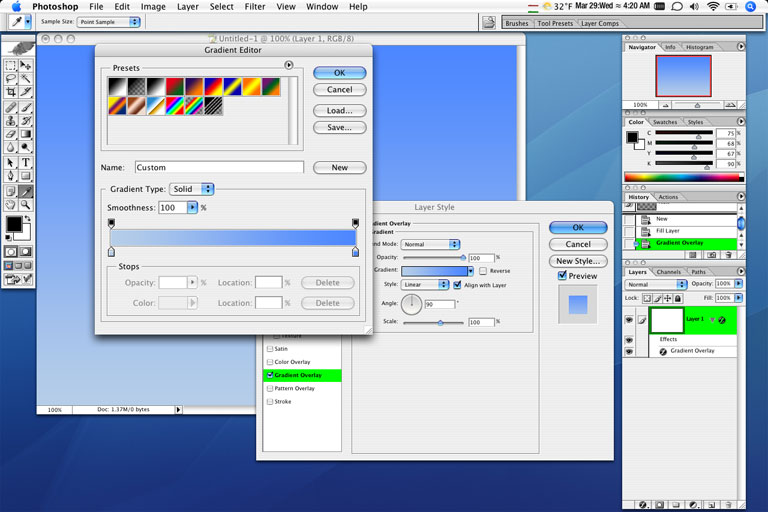
- menu: Layer -> Layer Style -> Gradient Overlay
- Make the top of the gradient a vivid light blue.
- Make the bottom a slightly grey, unsaturated light blue.
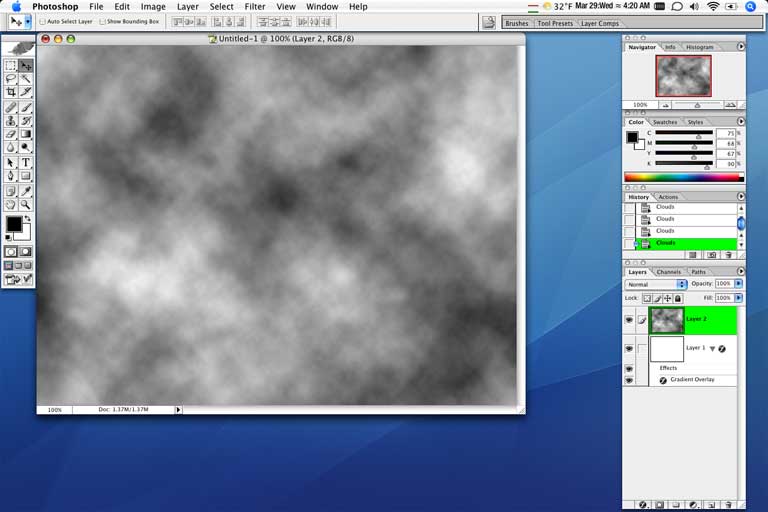
- Create a new layer for cloud creation. (Layer 2)
- menu: Filter -> Render -> Clouds (You may have to repeat Clouds a few times until they look suitably random.)
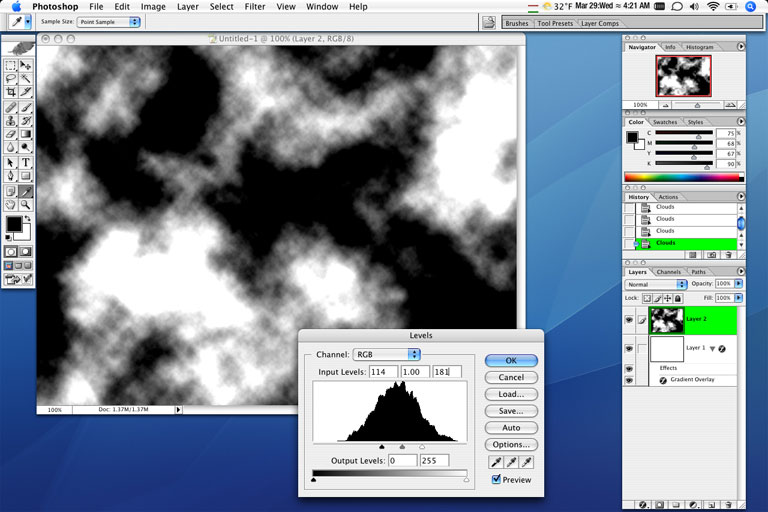
- menu: Image -> Adjustments -> Levels...
- Adjust "Input Levels" to approximately: 114, 1.00, 181
- Select all.
- Copy.
- Click the eye icon to the left of your cloud creation layer (Layer 2) to hide it.
- Create a new layer. (Layer 3)
- Enter quickmask mode by pressing the "q" key.
- Paste
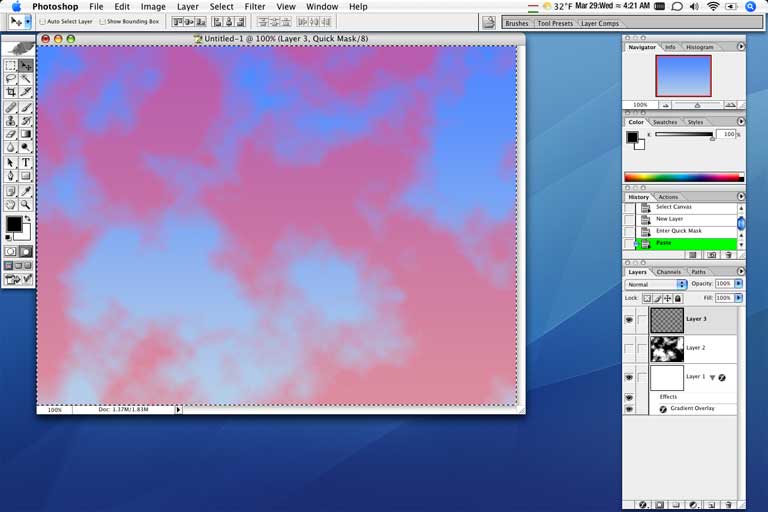
- Exit quickmask mode by pressing the "q" key.
- Fill the selection with the background color (white). (command-delete)
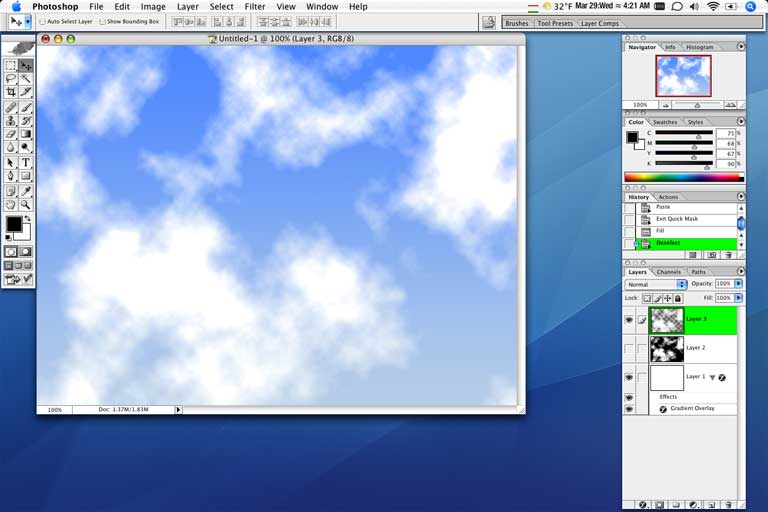
- Deselect the selection. (command-d)
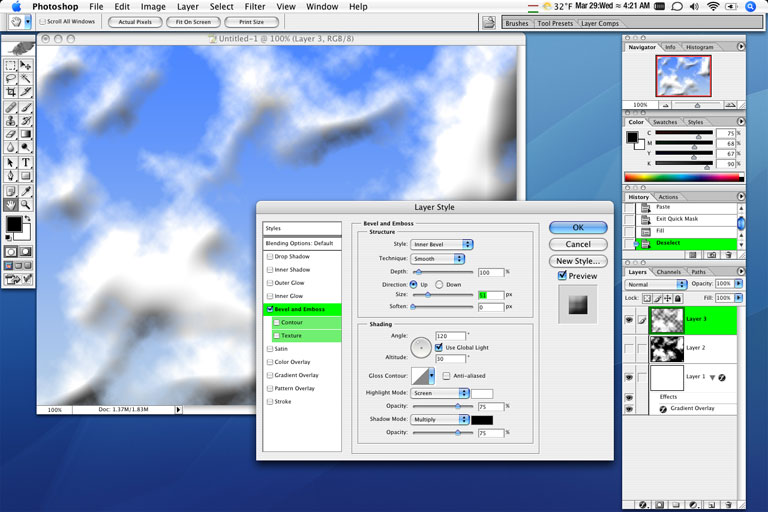
- menu: Layer -> Layer Style -> Bevel & Emboss
- Set "Size" to approximately 50 px
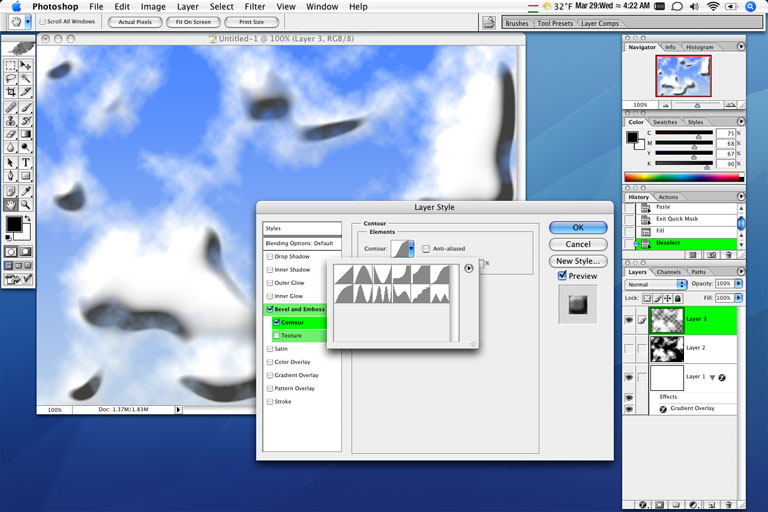
- Set Contour to the Gaussian curve.
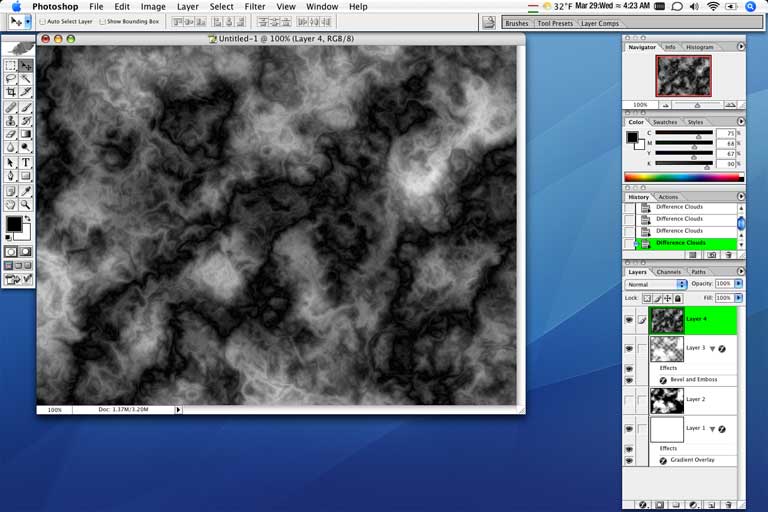
- Create a new layer for cloud texture creation. (Layer 4)
- menu: Filter -> Render -> Clouds
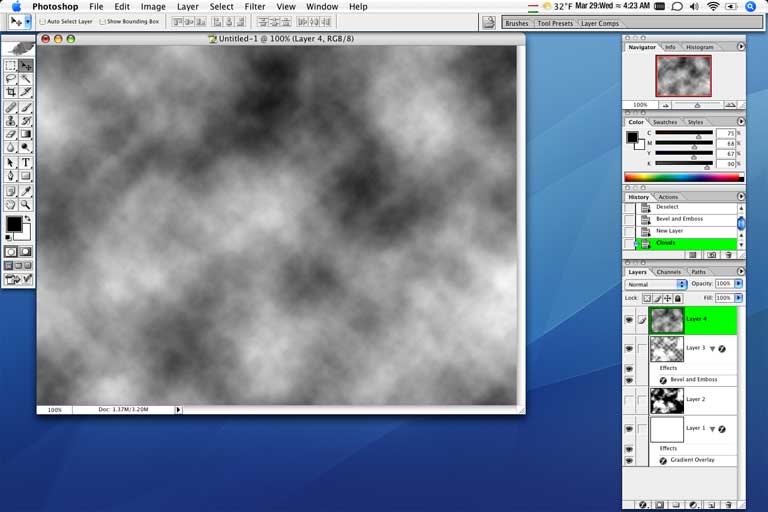
- menu: Filter -> Render -> Difference Clouds.
- Repeat Difference Clouds 10 to 20 times until you have a complex pattern.
- Enter quickmask mode by pressing the "q" key.
- Paste. (The clipboard should still contain the clouds layer contents (Layer 2).)
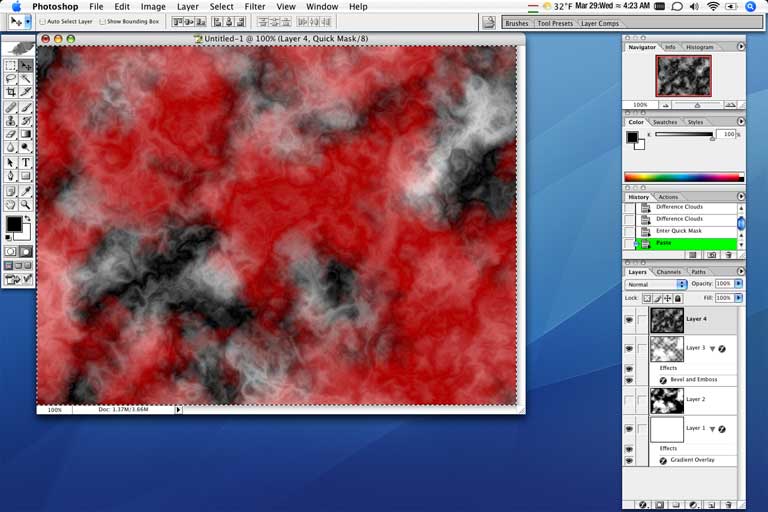
- Exit quickmask mode by pressing the "q" key.
- Copy.
- Deselect the selection. (command-d)
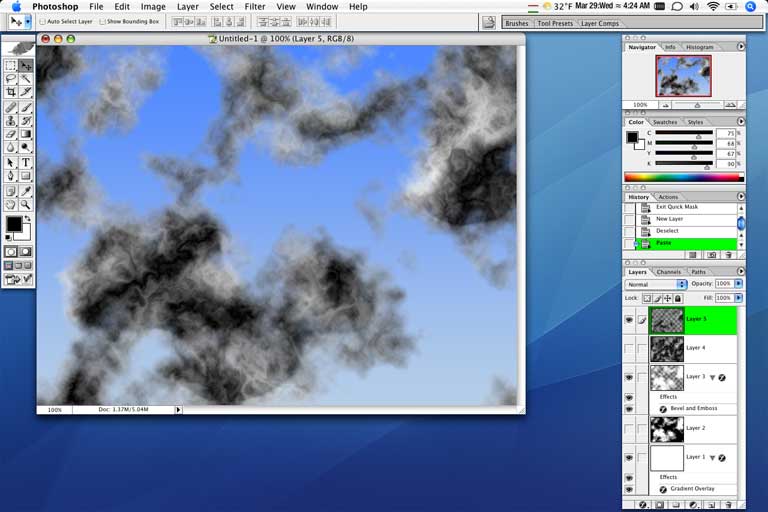
- Click the eye icon to the left of your cloud texture creation layer (Layer 4) to hide it.
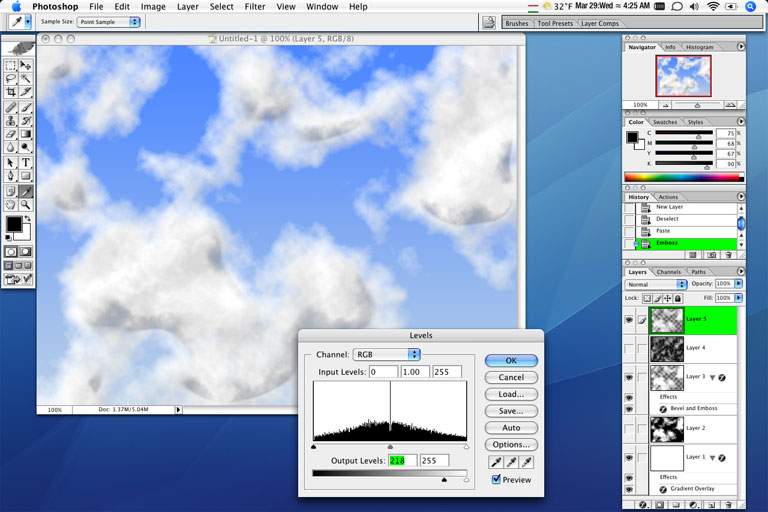
- Create a new layer. (Layer 5)
- Paste.
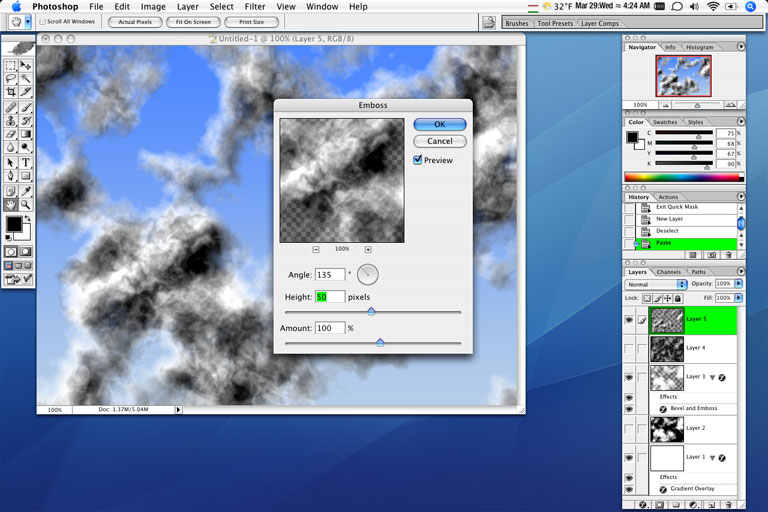
- menu: Filter -> Stylize -> Emboss
- Set the "Height" to around 50 pixels.
- menu: Image -> Adjustments -> Levels
- Set "Output Levels" to approximately: 218, 255
- Go back to your clouds layer (Layer 3) and "Create Layers" from the Bevel & Emboss effect: menu: -> Layer -> Layer Style -> Create Layers
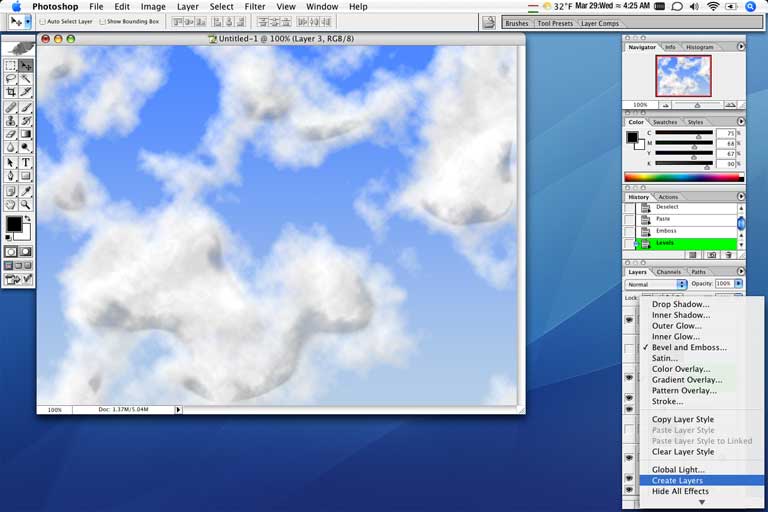
- Delete the screen layer (white streaks), leaving the multiply layer.
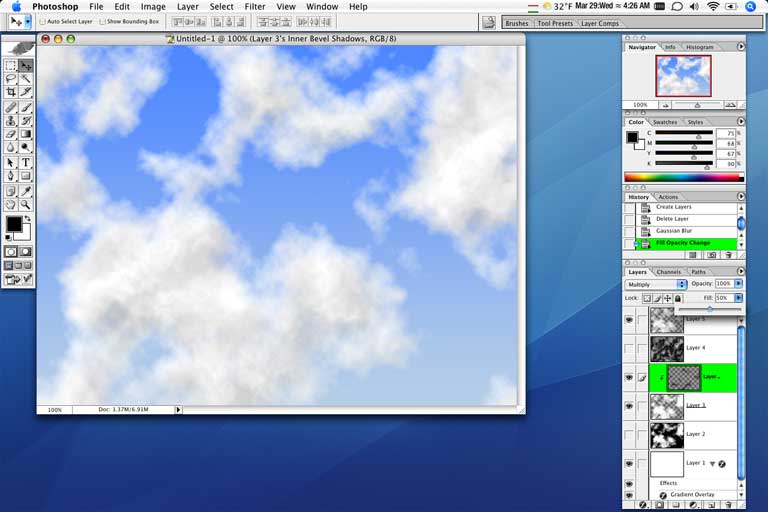
- Select the multiply layer (black streaks) and:
- menu: Filter -> Blur -> Gaussian Blur
- Set "Radius" to around 16 pixels.

- Adjust the multiply layer's "Fill" to around 50%
- End of instructions.