UMMC Narkomed 2B Checkout and Troubleshooting-1994
Different machines may require modifications of the procedure. You need
to think about what you are doing, why you are doing it, and how to trouble
shoot problems that develop. What follows is only a guideline. The responsibility
of a properly operating machine lies with the individual administering the
anesthetic. The decision to proceed or not, given the equipment on hand,
lies with the individual anesthetist. Anesthesia machine requirements for
this checklist: ascending bellows, capnograph, pulse oximeter, oxygen analyzer,
spirometer, breathing system pressure monitor with high and low pressure
alarms. *Indicates steps which may be omitted in subsequent checks.

Emergency Ventilation Equipment
1. Emergency equipment is available and functioning
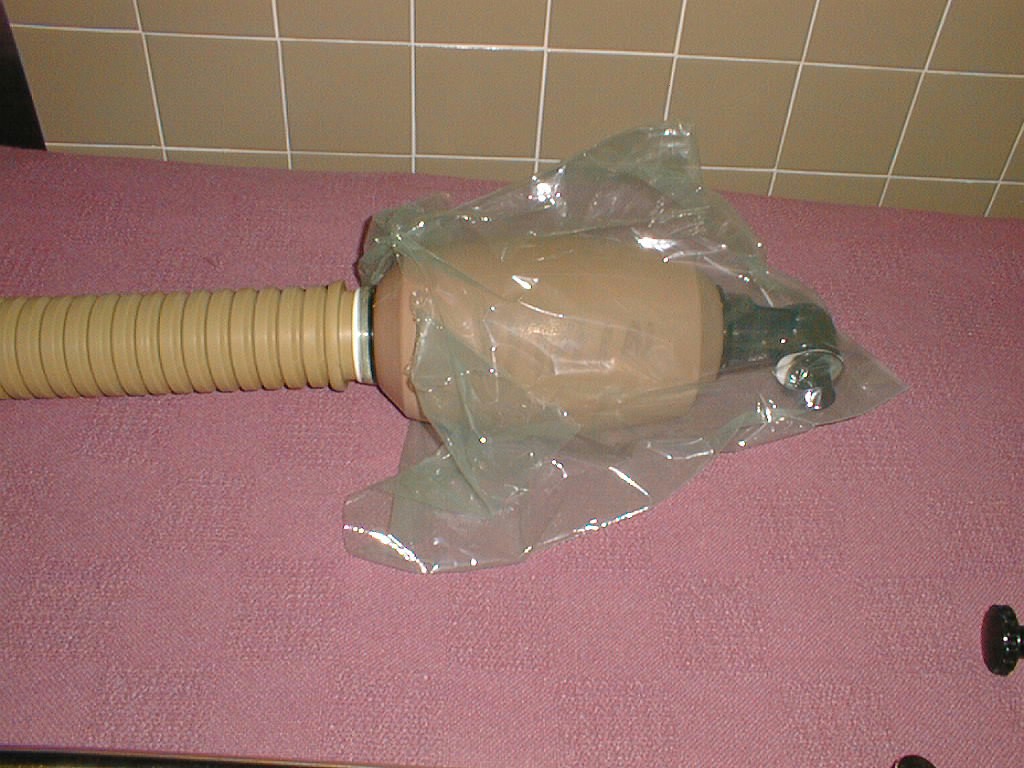
· Ambu-bag and mask, oral airway(s), laryngoscope, endotracheal tube
(stylet), patient suction
Problems?
High Pressure System
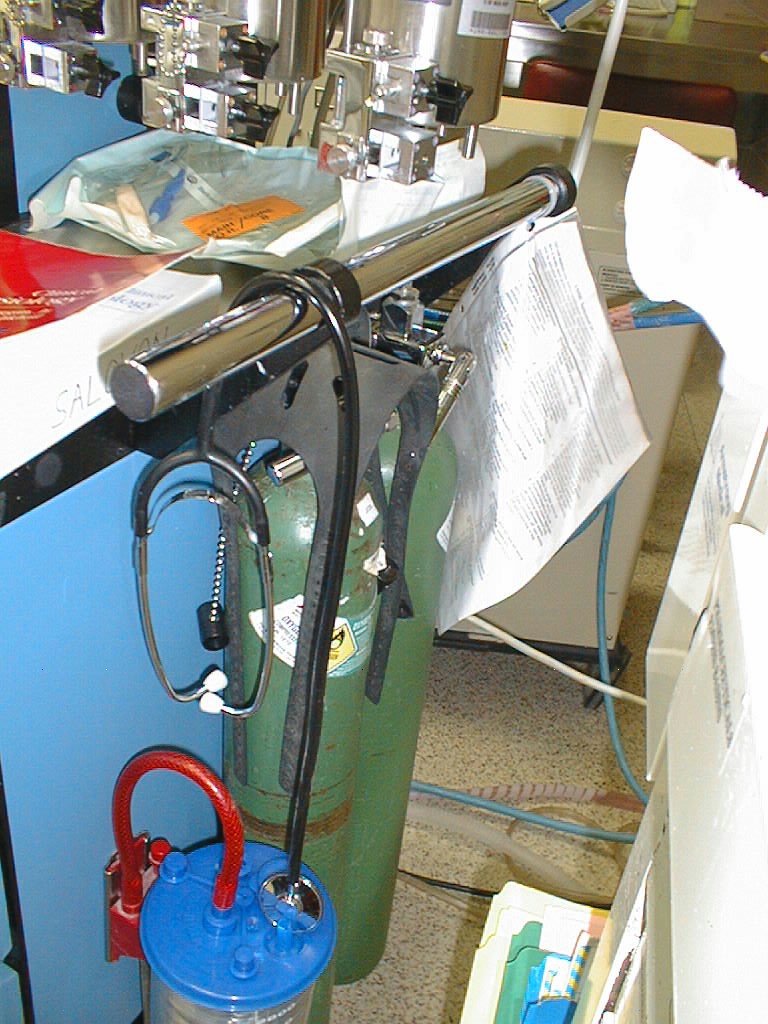
*2. Check O2 Cylinder Supply
a. Note O2 tank color, mounting. · Watch for pressure gauge to increase
when cylinder opened (should be > 1000 psi.)
b. Close cylinder.
c. Watch gauge and listen for leaks.
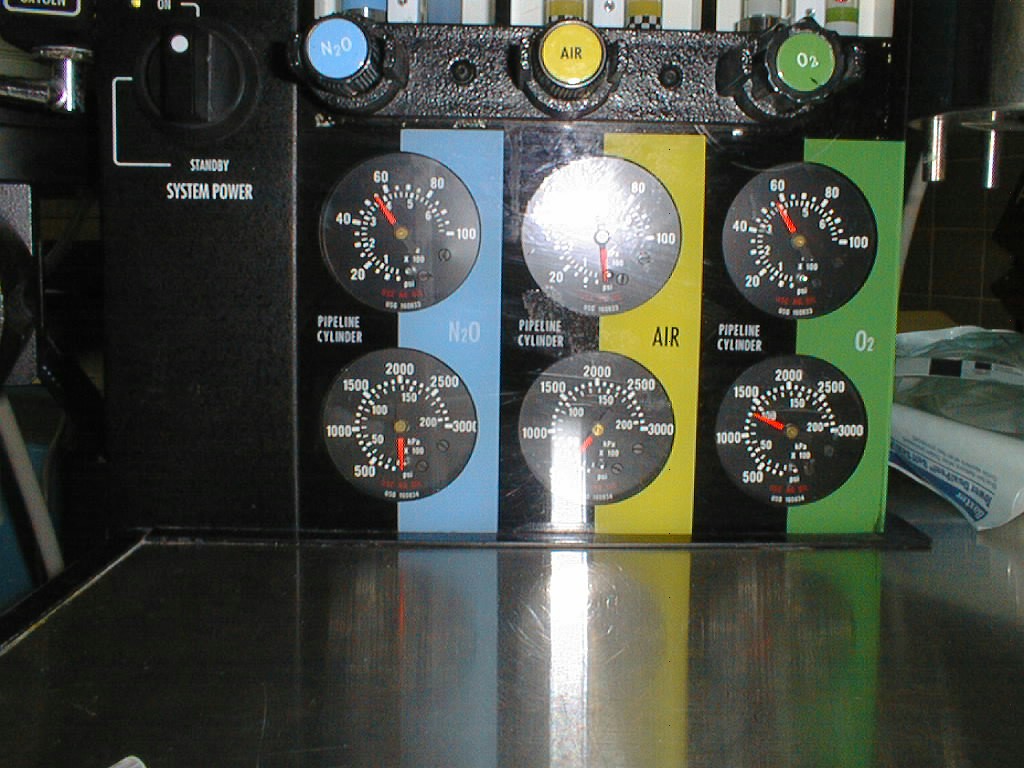
*3. Check central pipeline supplies for all gases
a. Inspect hoses and connections.
b. Note: pipeline gauge should read 45-55 psi.
Problem with High Pressure System?
Low Pressure System
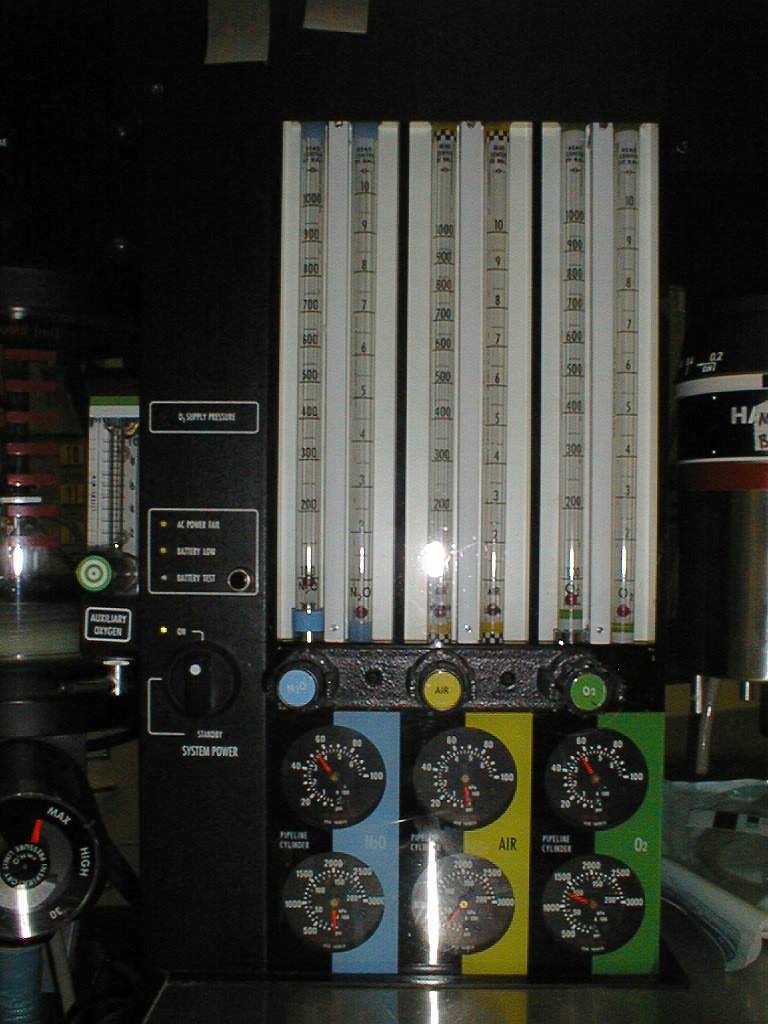
*4. Check initial status of low pressure system
a. Flowmeters and vaporizers off.
b. Check fill levels and tighten vaporizer caps, test interlock.
c. Remove O2 monitor sensor from circuit.
d. Verify that the machine master switch and flow control valves are off.
*5. Turn on master switch
a. Check diagnostics screen.
*6. Test flowmeters
a. Adjust flow of all gases through their full range, checking for smooth
operation of floats and undamaged flow tubes.
b. Attempt to create a hypoxic O2/N2O mixture and verify correct changes
in flow and/or alarm.
Breathing System
7. Check initial status of breathing system
a. Selector switch is in "bag" mode.
b. Breathing circuit is complete, undamaged, and unobstructed.
c. CO2 absorbent is adequate.
8. Install Accessory Equipment
To be used during the case.
*9. Calibrate O2 monitor
a. Calibrate to read 21% in room air.
b. Reinstall sensor in circuit and flush breathing system with O2.
c. Monitor should now read > 90%.
10. Perform breathing system leak check
a. Set all gas flows to zero (or minimum).
b. Close APL valve and occlude y-piece. Note zero pressure.
c. Pressurize breathing system to 30 cm H2O with O2 flush.
d. Gauge value shouldn't noticeably drop in 10 seconds.
Problem with Breathing System?
Scavenger System
11. Check APL valve and scavenger system
a. Pressurize breathing system to 50 cm H2O and insure it remains intact.
b. Open APL valve and insure that a pressure decrease occurs as the valve
is opened.
c. Insure proper scavenging connections and adjust waste gas vacuum.
d. Fully open APL valve, and occlude Y-piece.
e. With minimum O2 flow, insure negligible negative pressure at the absorber
pressure gauge.
f. With O2 flush activated, insure negligible positive pressure at the absorber
pressure gauge.
Problem with Scavenging System?
Ventilator
12. Functional test of ventilator and unidirectional valves
a. Place reservoir bag on Y-piece.
b. Set appropriate ventilator parameters for next patient, check inspiratory
flows dial.
c. Set O2 flow to minimum, other gas flows to zero.
d. Set selector switch to auto, turn ventilator on and pressurize system
with O2 flush.
e. Insure cycling of ventilator and free movement of bellows. Check for
loss of gas from circuit by failure of bellows to refill.
f. Check for proper action of unidirectional valves.
g. Exercise breathing circuit accessories to assure appropriate function-disconnect
bag, verify low pressure alarms.
h. Turn ventilator off, turn alarms off and return bag to bag mount.
Problem with Ventilator?
Monitors
13. Check, calibrate and set alarm limits of all monitors
· Capnograph/agent analyzer
· Oximeter
· ECG
· NIBP
· O2 analyzer
· Spirometer
· Invasive pressure monitors
· Respiratory pressure monitor
Final Position
14. Check final status of machine
a. All flowmeters to zero or minimum.
b. Vaporizers off.
c. Selector switch to "bag" mode.
d. APL valve open.
e. Patient suction level appropriate.
f. Patient breathing system ready to use.
What this does not check (lack of a positive control): O2 pressure alarm,
Nitrous tank pressures/gauges, defective vaporizer interlock. Leak in vaporizer,
defective pressure gauge.
Trouble shooting:
Comment: Alarms may be silenced in three ways:
1. Temporarily silence the alarm.
2. Turn off the offending alarm or device.
3. Fix the alarm condition.
The latter is preferable.
Common Faults
Emergency Ventilation Equipment
· Omission
· Lack of patient suction
Return to Checkout
High pressure system
· Wrong tank-pin index system failure
· High pressure leak-check washer
· Gauge failure
Low pressure system
· Low pressure leak-without vaporizer-broken flowmeter, internal leak.
· Low pressure leak-with vaporizer-loose vaporizer cap, leak in vaporizer.
· Flowmeter problems-broken, stuck float, dirty flowmeter, low gas
pressures.
· Hypoxic mixture problems-faulty link 25 system (Ohmeda), faulty proportioning
system (Drager).
Return to Checkout
Breathing system
· CO2 absorber-if blue, needs to be replaced.
· Breathing system leak-loose connection, CO2 canister mis-mounted,
excess sampling from gas monitor, valve cover loose/missing/broken, auto
peep from H2O in ventilator hose.
Return to checkout
Scavenger System
· Scavenging problems-bag too full (positive pressure), insufficient
scavenging for flows, no positive pressure release.
· Scavenging problems-bag too empty (negative pressure), excessive
scavenging for flows, no negative pressure relief valve.
Return to checkout
Ventilator
· Ventilator problems-no driving gas pressure, no electrical power,
improper settings (Vt=0, rr=0), leak from bellows, sticking pop-off valve
(open or closed).
· If ventilator fails to refill, there is a leak in the low pressure
system. Increase the flow until the ventilator bellows refills. Flow at
this point equals the leak out of the circuit.
Return to Checkout
This page is not affilliated with North American Drager. Any User takes
full responsibility for his or her own actions.
Check this out!
http://www-personal.umich.edu/~jszocik/index/lowflow.html
for more information, contact:
jszocik@umich.edu
http://www-personal.umich.edu/~jszocik/index/lowflow.html